In the last 12 months, I have gotten a manicure in a salon exactly three times. And hated it every single time. Mainly because I have come to realize that I can generally do a better job with painting my nails every single time. Sometimes I need the cuticle maintenance, sure. But when it comes down to the finished look, my at home manicure slams most of my salon manis.
Getting good at doing your manicure at home takes some practice. And patience. You won’t be good at it over night. But now that we are all home for the foreseeable future and nail salons are out of the question, let’s get good at painting our nails together!
I’m going to take you step by step with what I do for my at home manicure. So much of what I learned has come from SGT, or Sarah Gibson Tuttle, founder of Olive & June and Kate, from What Kate Finds.
Kate has the most amazing video here with all of her tips and secrets, and I highly recommend watching it BEFORE you start you mani session. And make sure you are follow Sarah and Olive & June on IG, because their lives are super informative. And Sarah is the shit.
SUPPLIES
I have lots of nail polish favorites, but I have been primarily using Olive&June polish for the last six months. Largely in part to the tools! The polish is awesome and lasts well on my nails, but the accessories they have put out are top notch. You don’t have to buy O&J, but I am going to link The Studio Box here for you guys.
This is what I would recommend starting with if you want to get started on your own at home manicure journey. It comes with all of the tools you need to get the perfect manicure, even if you aren’t a pro. It sounds silly to rave about a file and buffer stick, but they are ACTUAL magic. Just the perfect grade. It also comes with a little nail polish remover pot that makes clean ups super easy.
WHAT YOU NEED
- POLISH REMOVER
- NAIL CLIPPERS
- NAIL FILE
- BUFFER
- TEENY TINY PAINT BRUSH
- POLISH OF CHOICE
- TOP COAT
- CUTICLE OIL OR SERUM
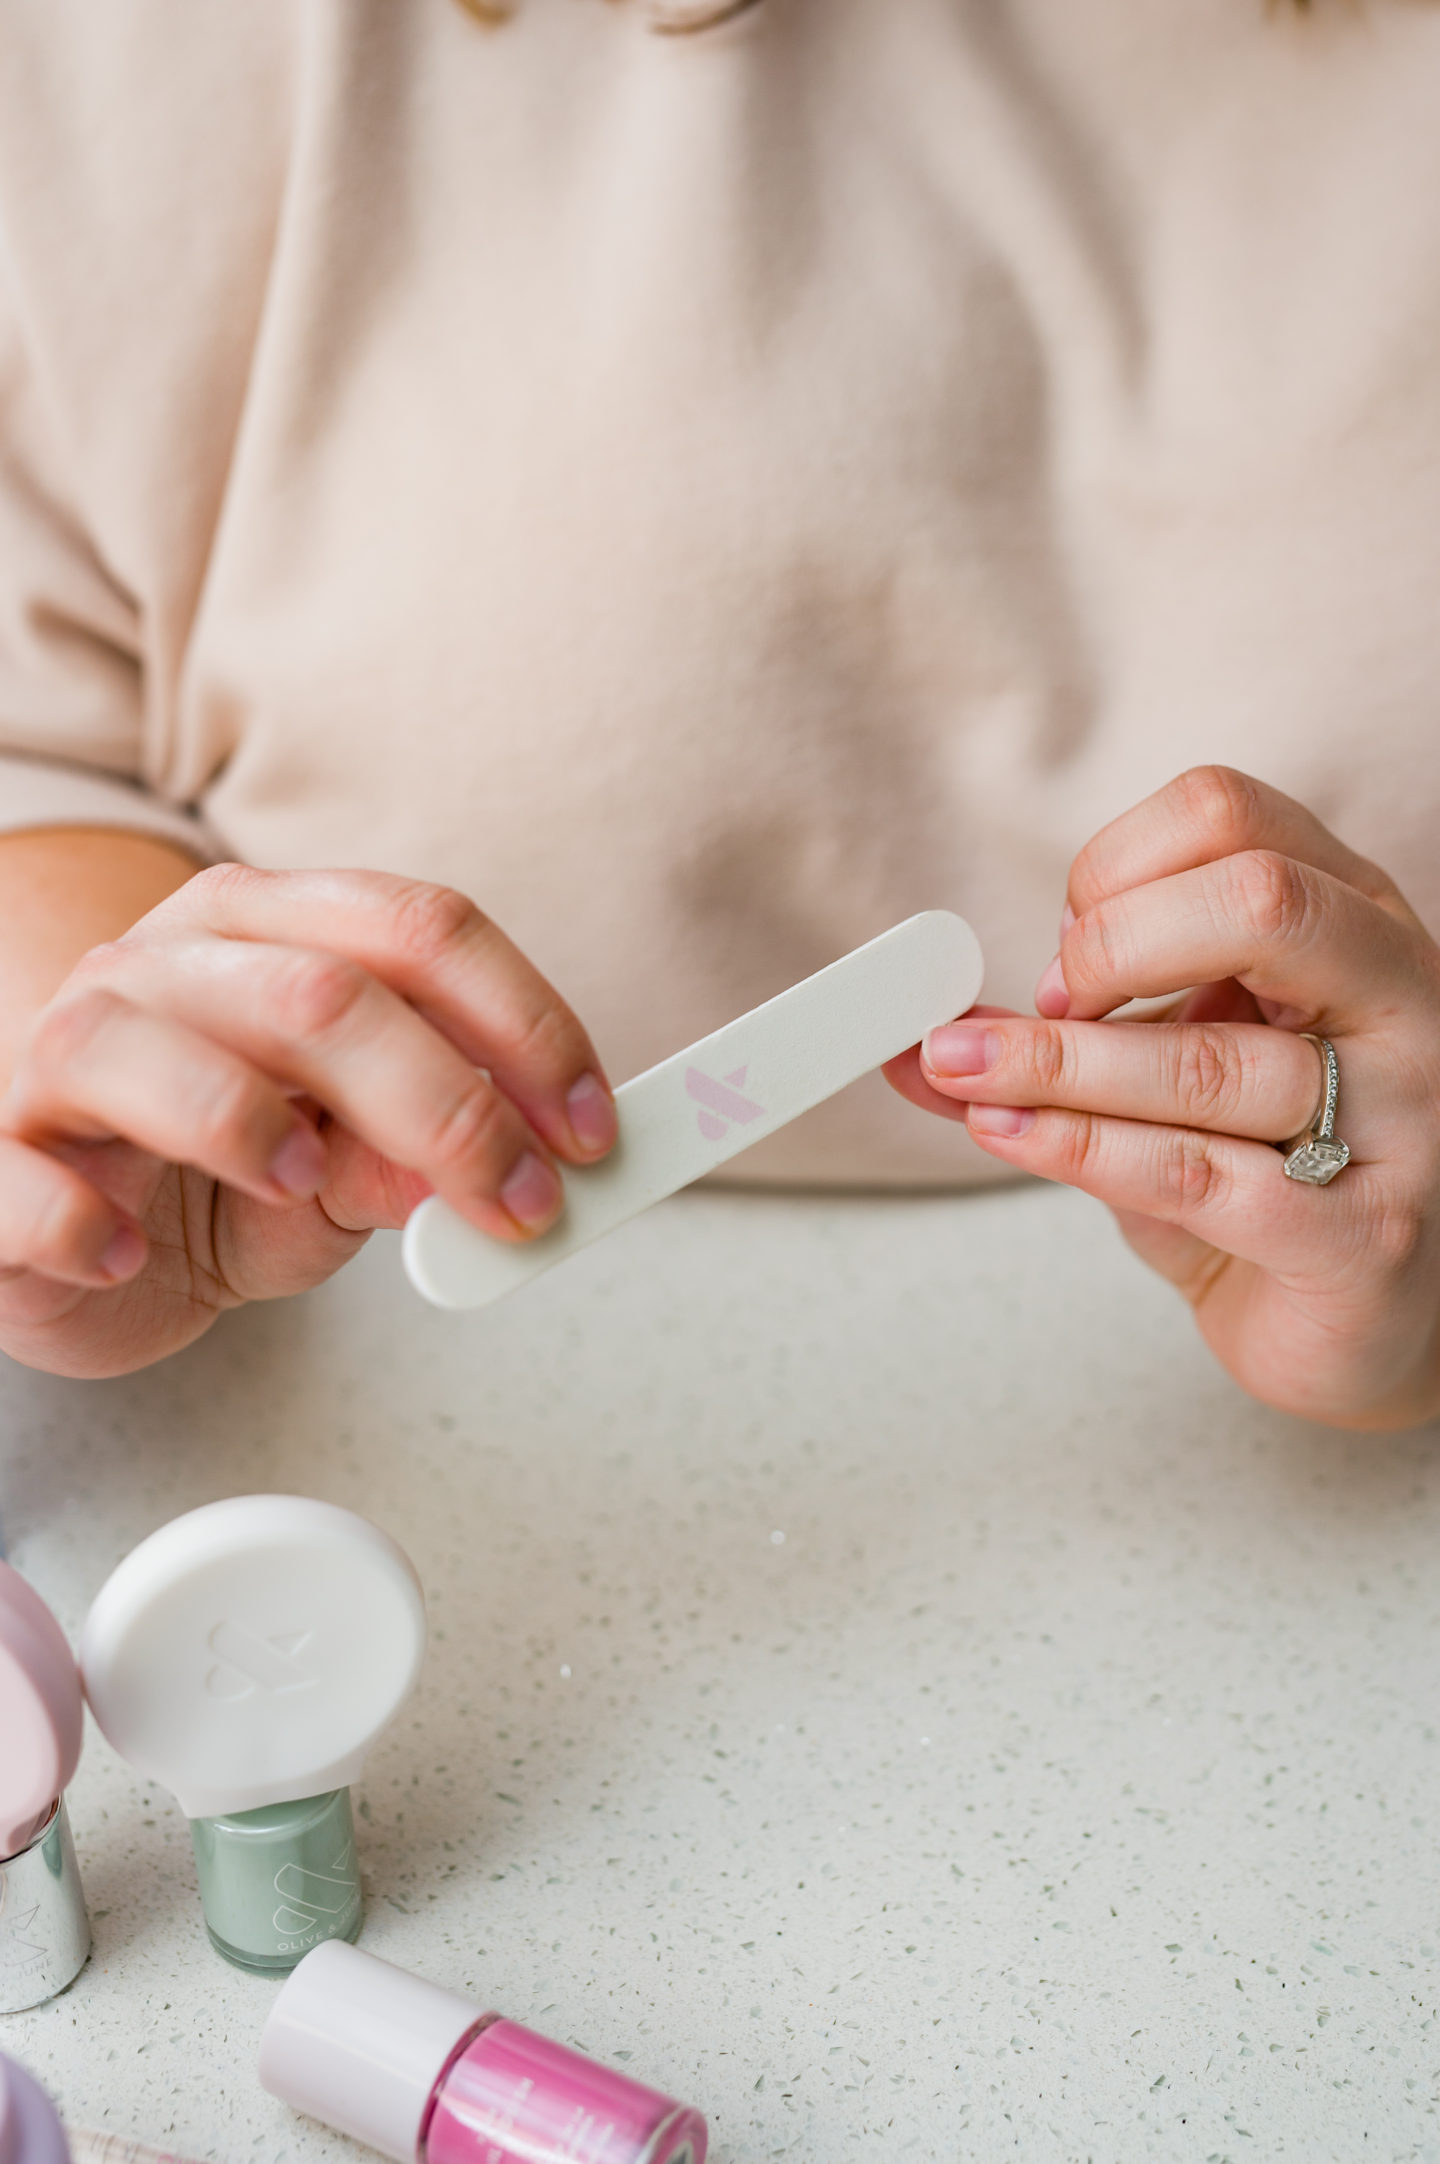
SHAPE
You want to take your time in shaping your nails. Start with your nail clippers to get the desired length you want. Go in slow, if you are working on growing them out. You want to get 90% of the way done with your clippers.
Then using a file, slowly shape each nail. Only file in one direction to avoid over shaping. Don’t go back and forth. I like a more squoval shape, but you can round out your nails, or go for a true square nail.
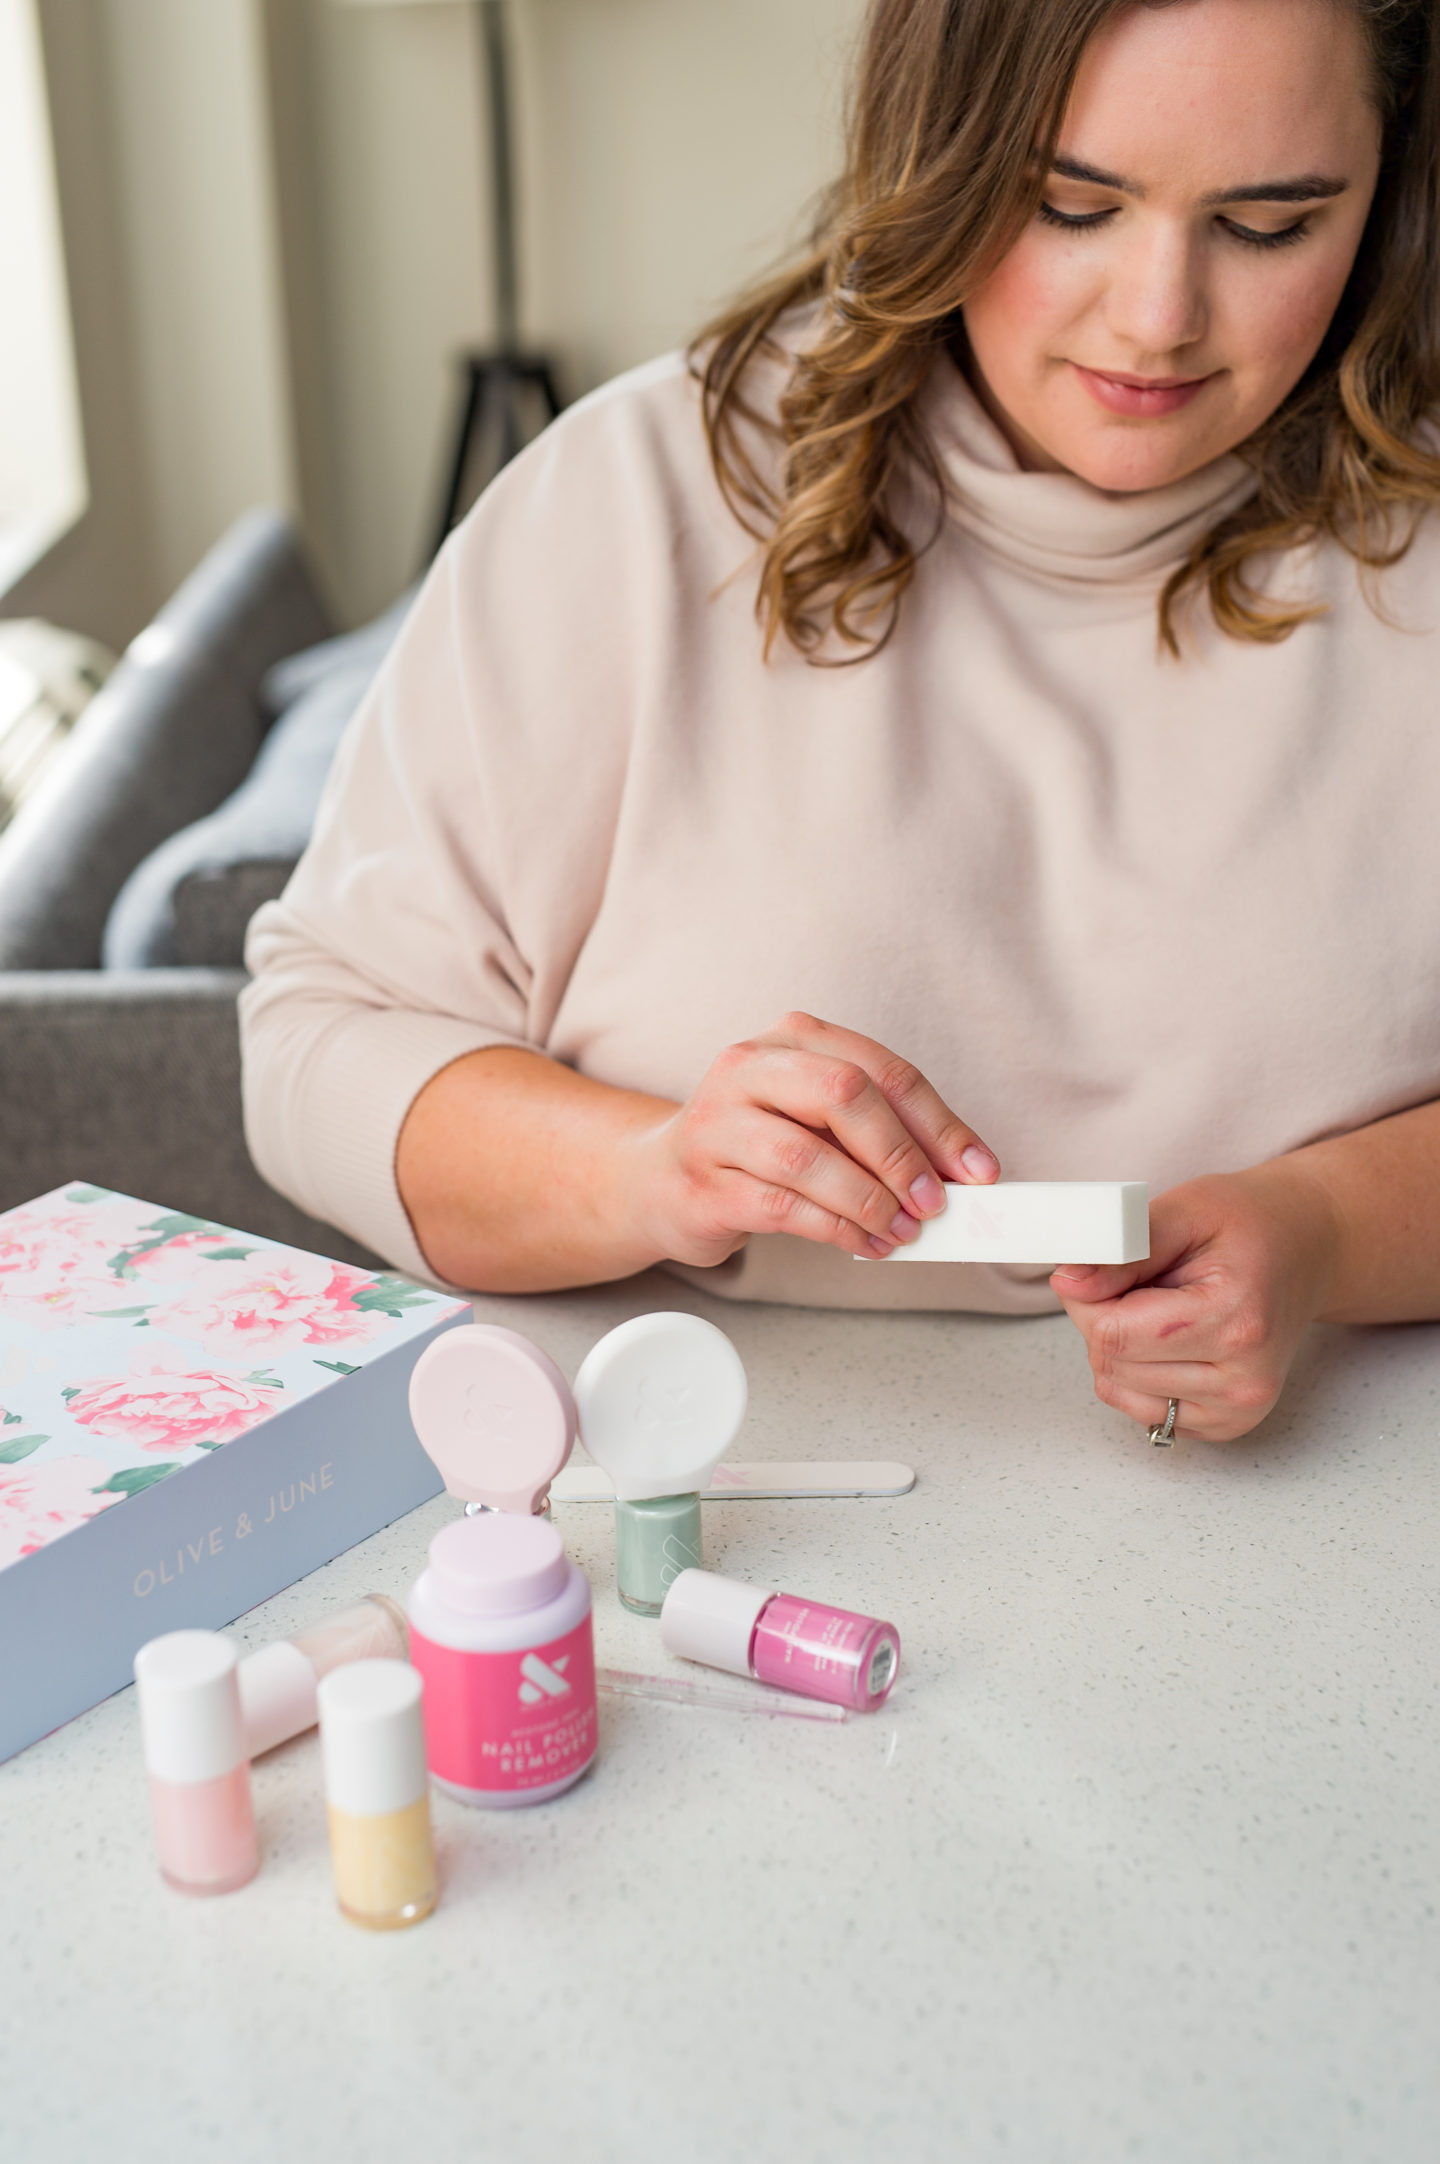
BUFF
I used to always skip this step, because I didn’t actually think it was useful. But now I know better! Buffing your nails smooths out the surface and removes any bumps. It also adds just enough texture to allow your polish to “grip” your nails a little bit better, leading to a longer lasting manicure.
I also use a buffer to address my cuticles. I NEVER cut my cuticles, not even at a salon. But I will take my buffer and run it along the cuticles to remove any hanging bits or cuticle that has grown over my nail. Voila!
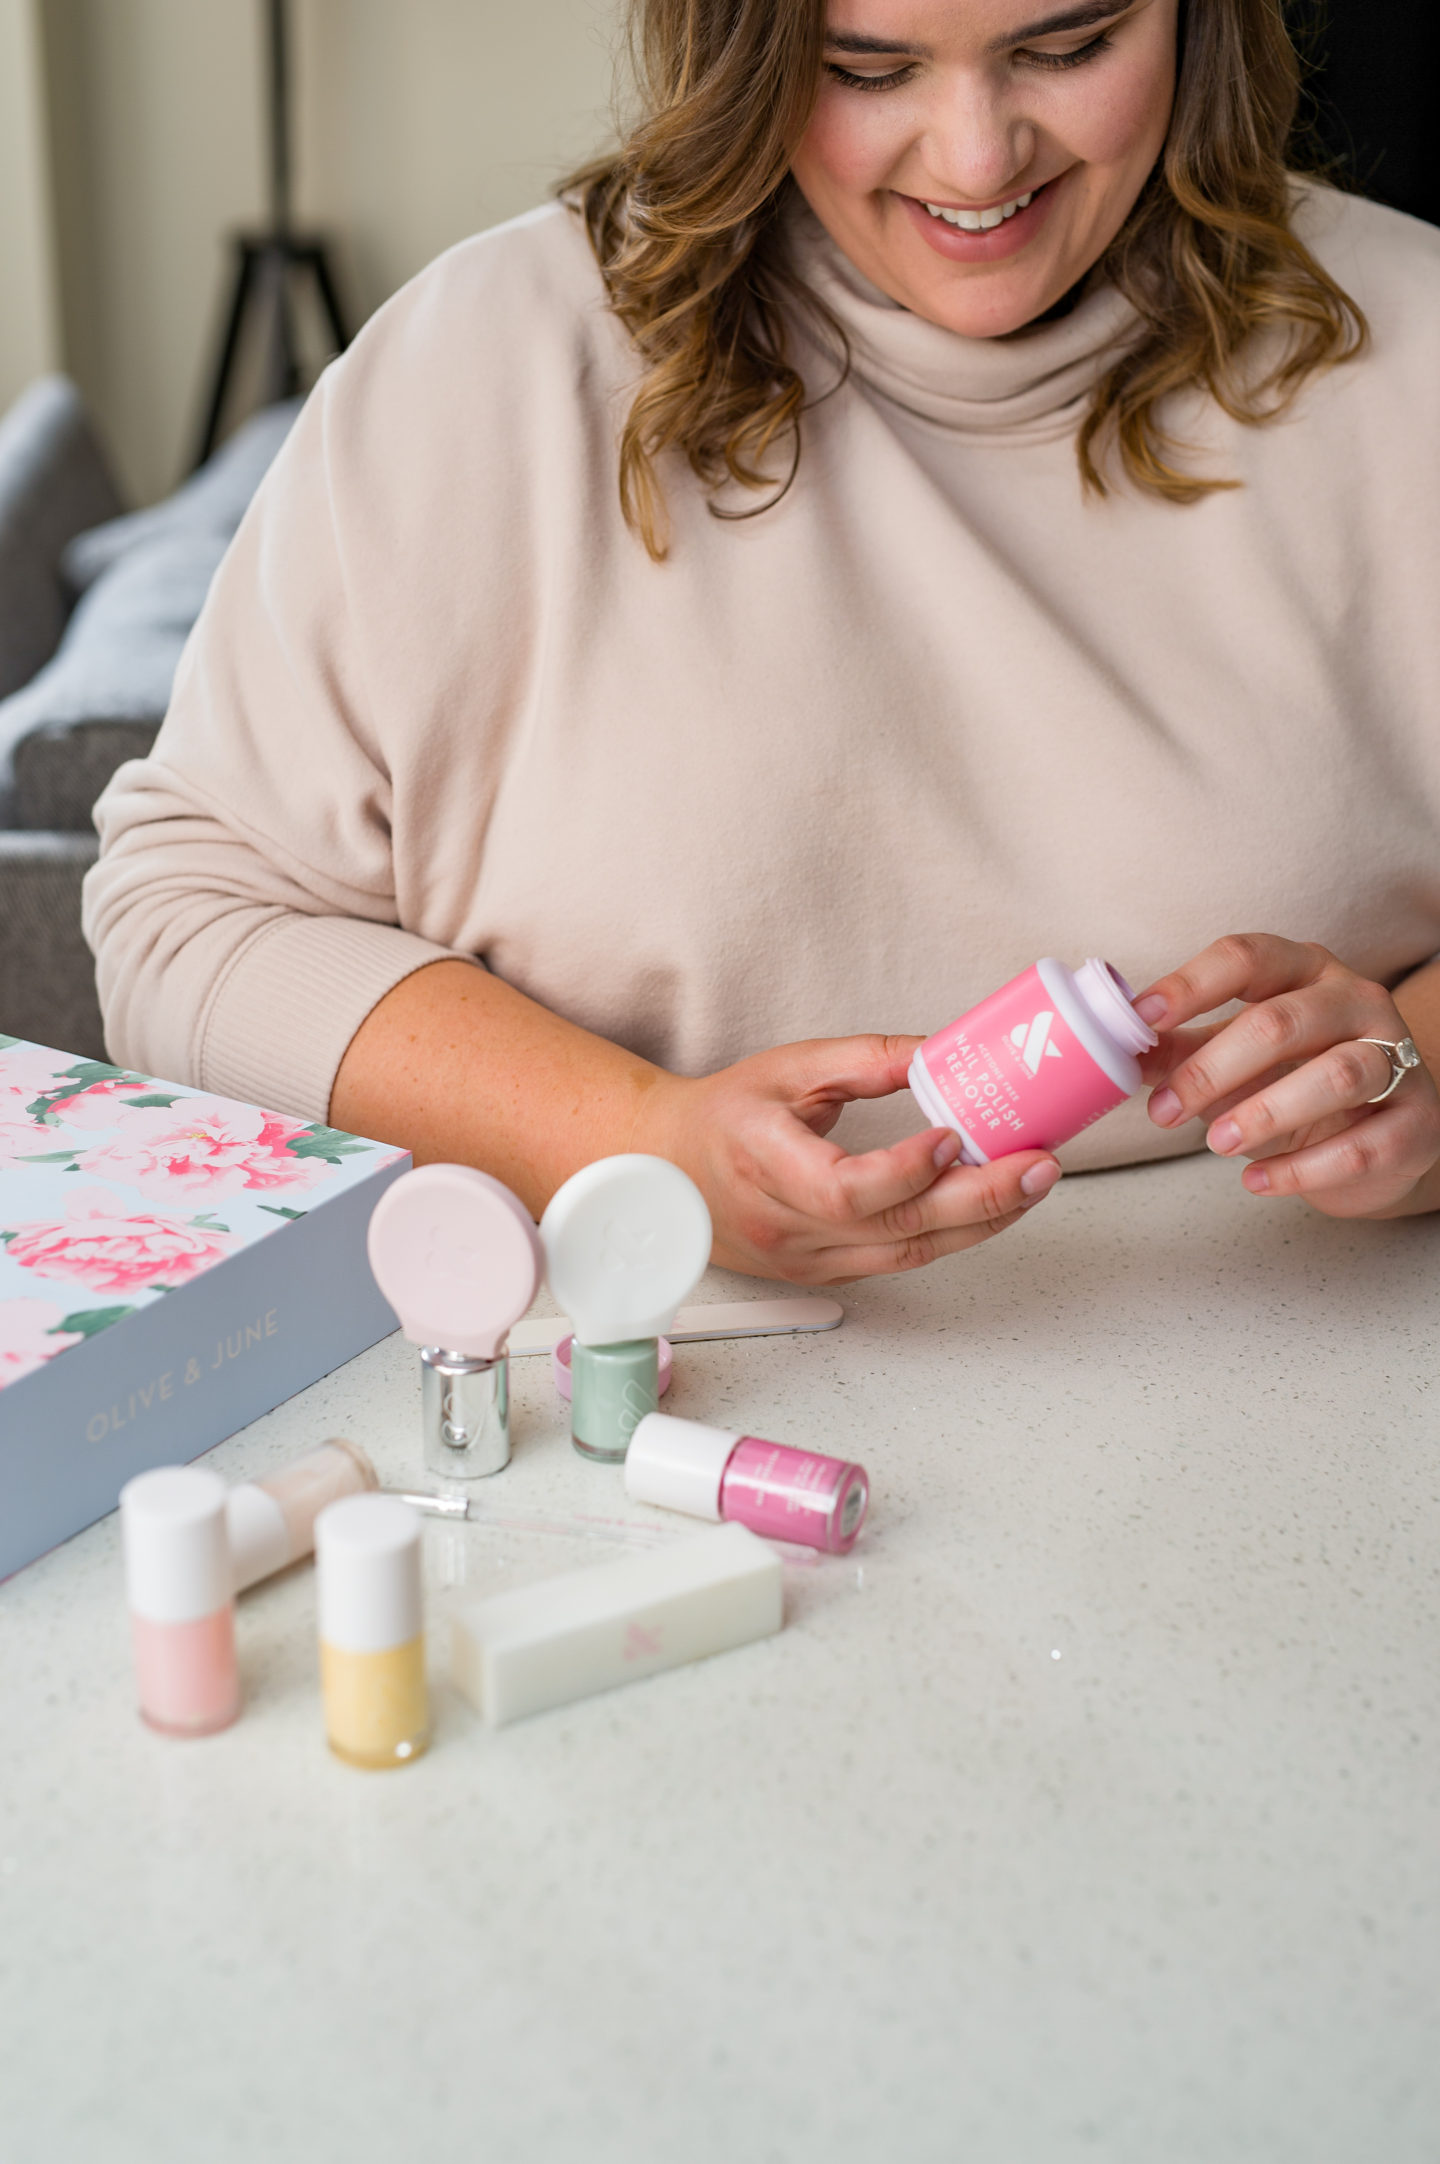
PREP
This step is critical if you want your polish to last for as long as possible. By prepping your nails, you remove all the excess oil, allowing a solid connection between polish and nail.
You can use a remover for prep, or if you have very oily nail beds, try using a bit of alcohol on a cotton pad to dry up any excess oils .
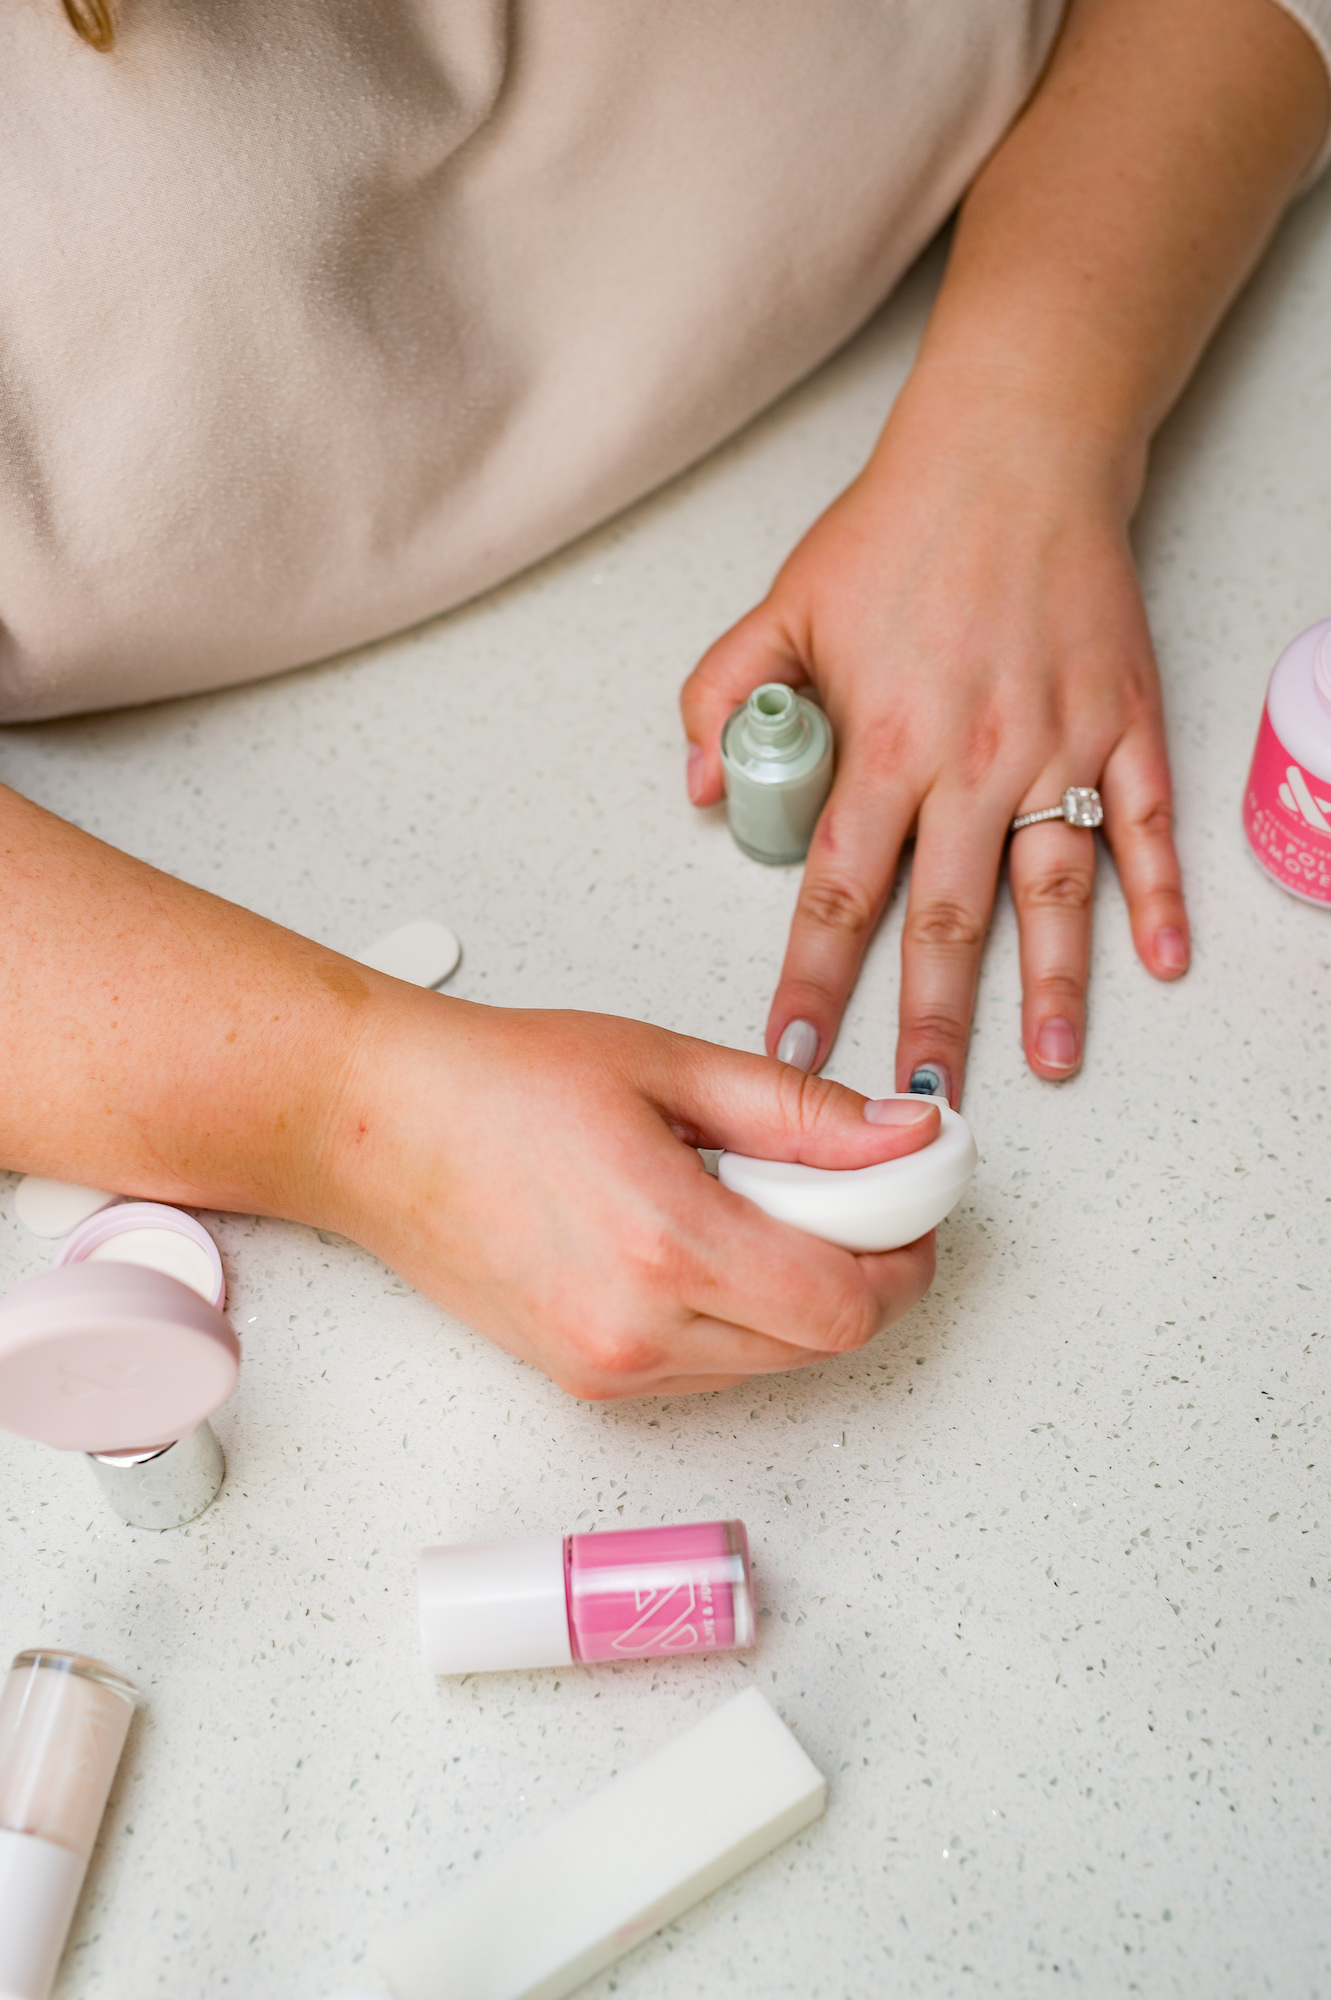
PAINT
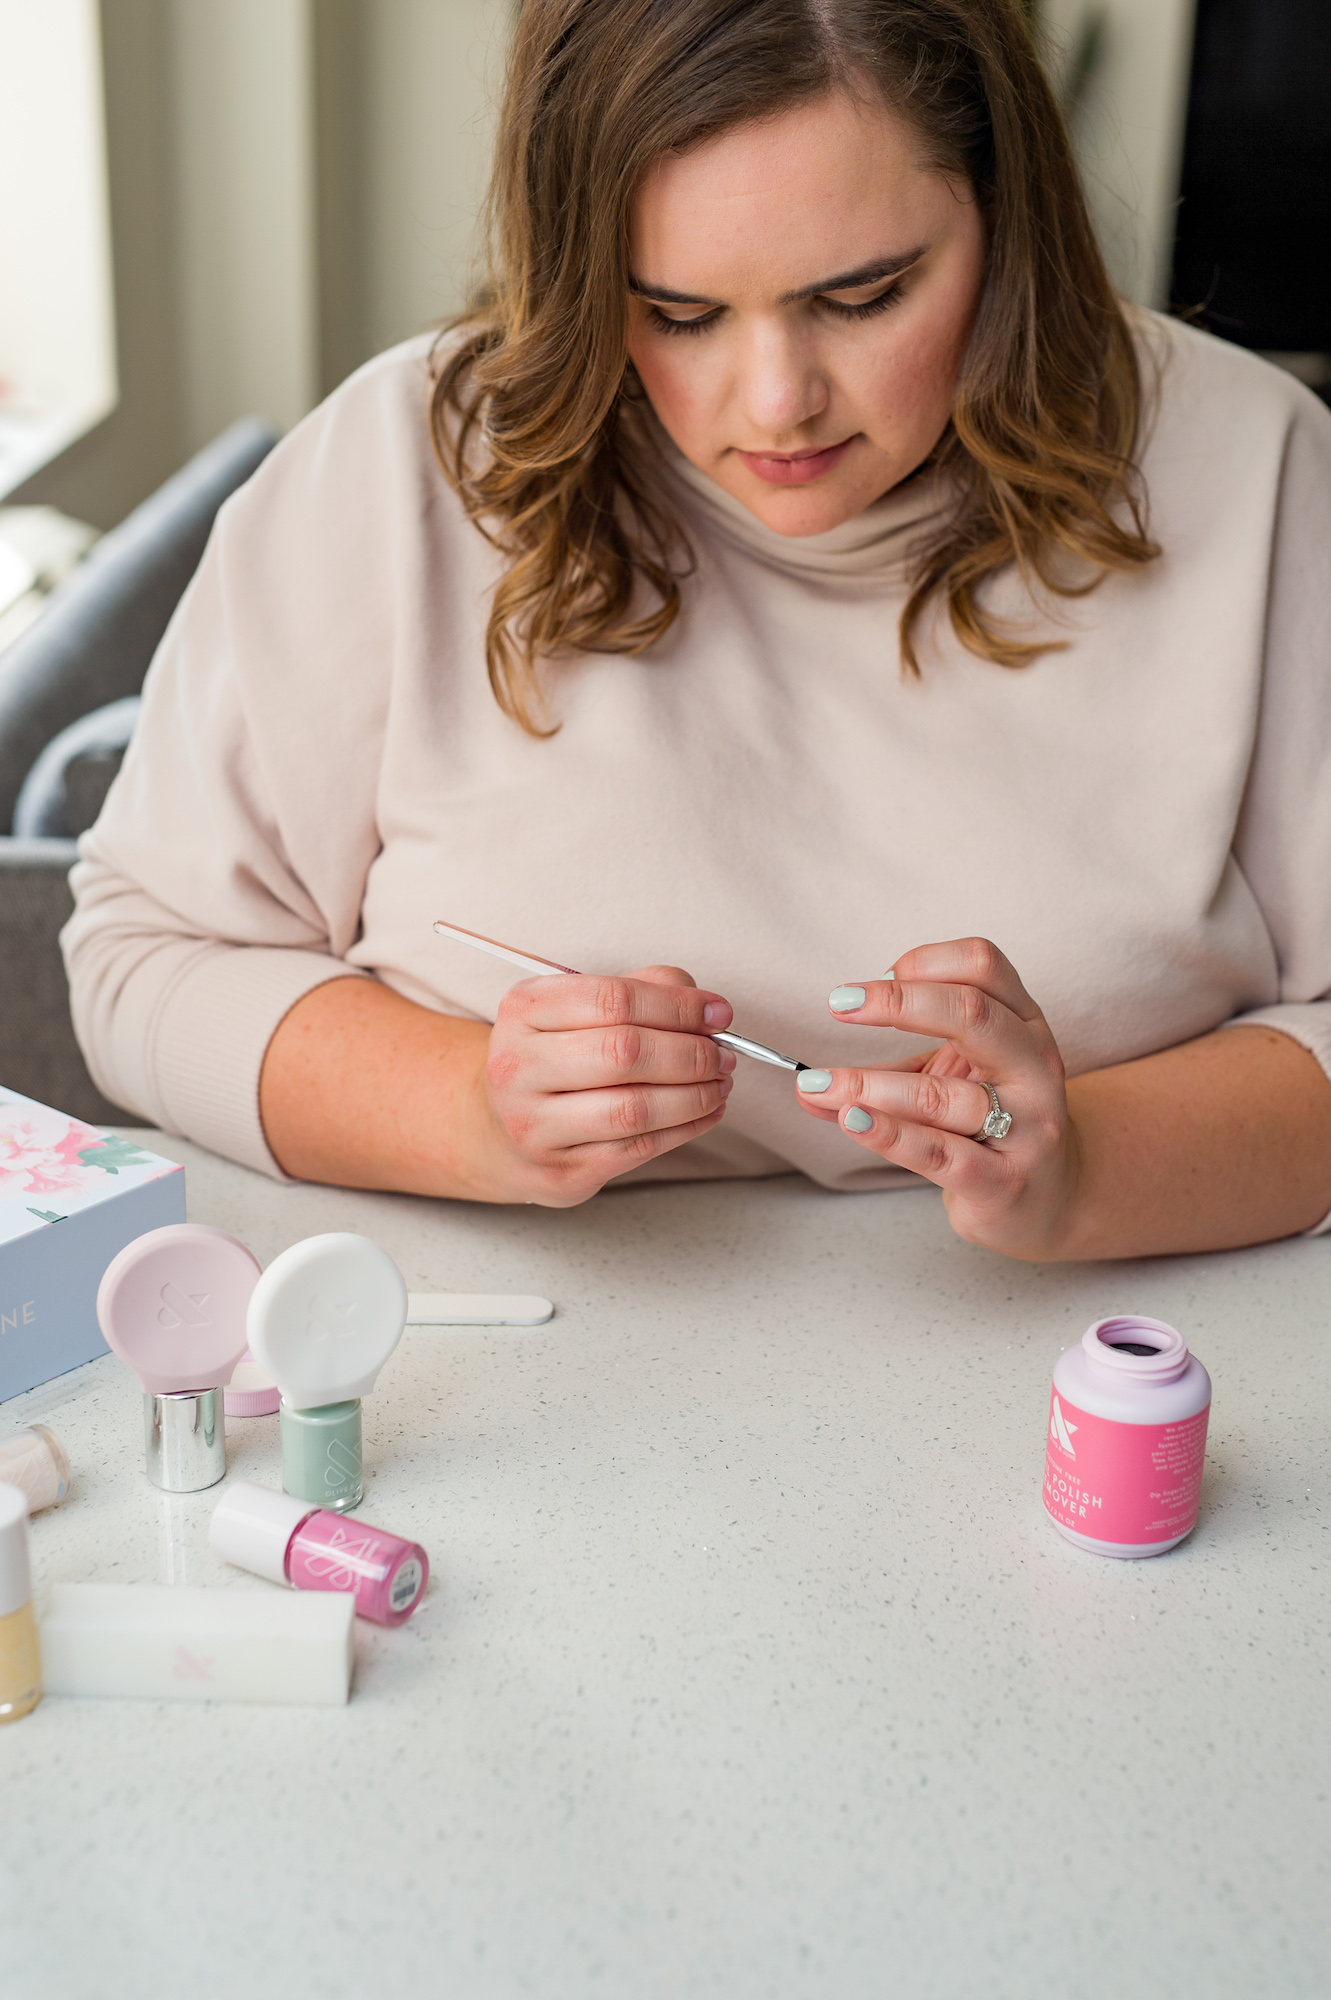
This is probably the hardest part for most of us. It is intimidating, and you are going in with your hand shaking! If you haven’t gotten yourself an O&J Poppy, you need to get on it. I thought it was a marketing ploy, but omg. IT WORKS.
Go slow. Don’t worry too much about mistakes. And remember that LESS IS MORE. Two coats is usually enough. More tips below.
CLEAN UP
This is where Olive & June really make things easy. The Studio Box comes with a little remover pot and the world’s tiniest paint brush, made specifically for cleaning up mistakes!
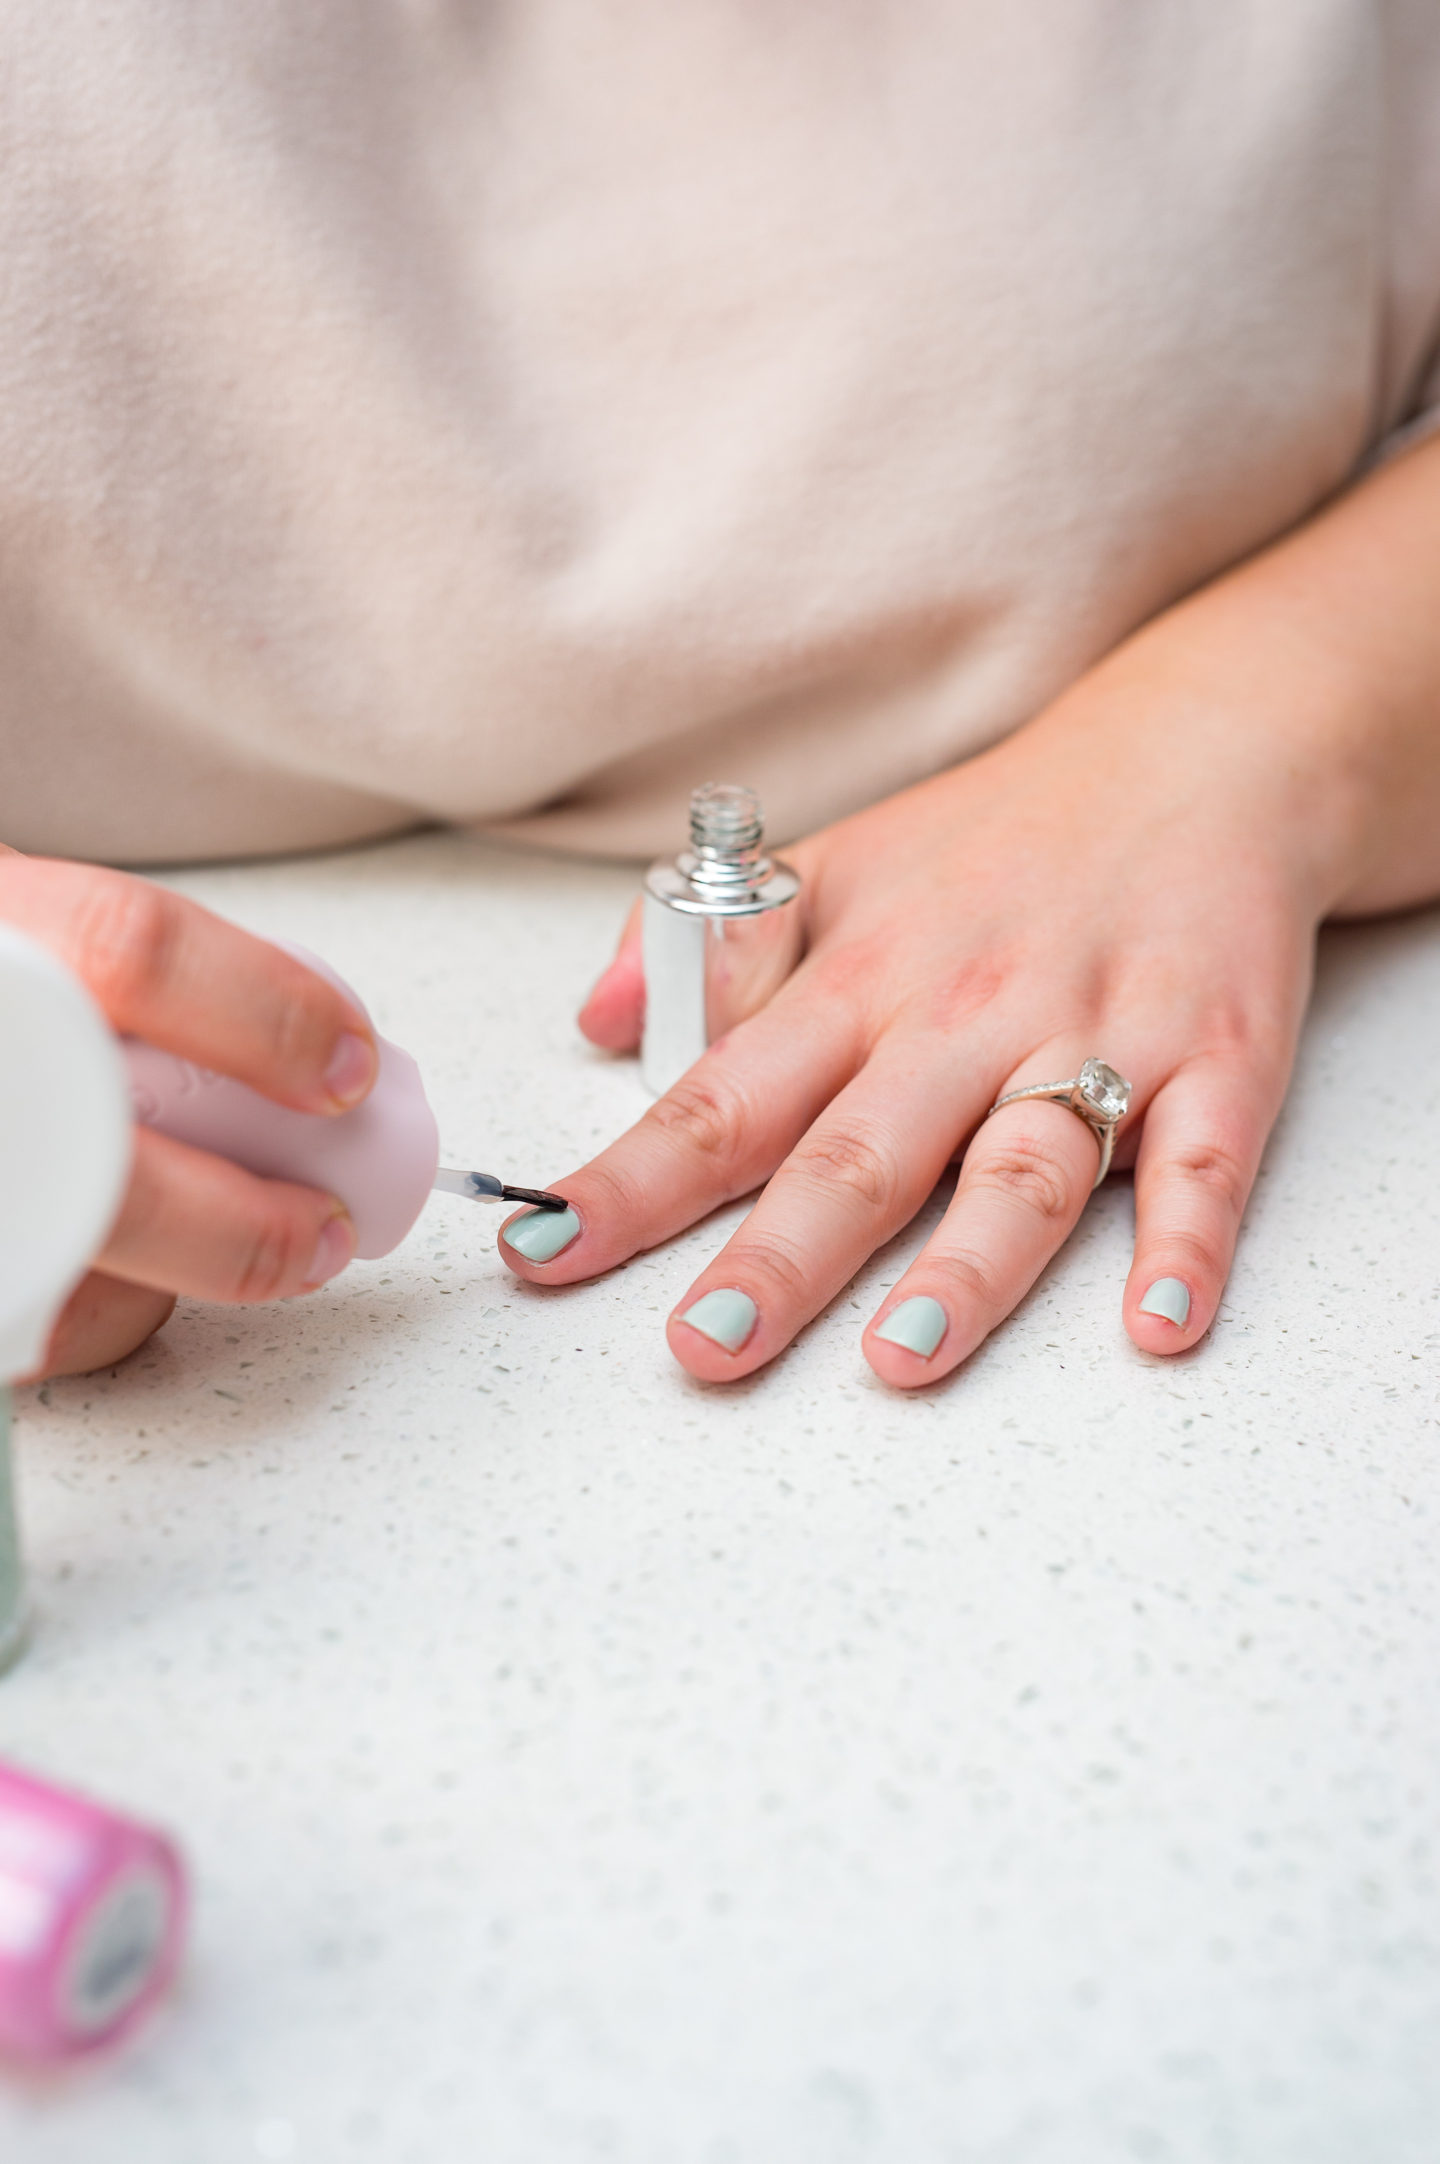
Painting your nails becomes exponentially easier and so much more enjoyable when you aren’t sitting there afraid of every single mistake. You can use any paint brush that is short and small, and any remover you may have to run along the edges of your nails and remove any run away polish.
TOP COAT
STOP! Before you move ahead with your top coat, take a deep breath. And wait. Ten to fifteen minutes. Yes, it will take you a bit longer. But trust me. Waiting for the paint to dry most of the way before applying your top coat will make a huge difference.
You know how annoying it is when two hours after you thought your nails were dry, you smudge them? This will totally alleviate that. Heck, you could polish at night and top coat in the morning, even! Keep your top coat thin, so you can add an extra layer of protection every few days.
TIPS AND TRICKS
I can’t take credit for any of these tips, but they have made my at home manicure solid. The more you do it yourself, the more you will learn what works for you, what things you can skip and where you spend a little extra time.
TAKE YOUR TIME – Obvious, right? But seriously. I used to try to get my nails totally painted in fifteen minutes, used a quick dry top coat, and be irritated when I screwed them up ten minutes later. Now, I treat nail care like I do self care. Slow, relaxed, quiet. Call a friend and paint your nails together. Or watch your favorite show. Or mindlessly scroll IG while you nails dry. But patience is the key to a long lasting manicure.
JUST START OVER – If you royally screw up a nail, smudge your polish or flood your cuticles with too much paint, just pop your finger into your polish remover pot and start again. Don’t stress about trying to fix that nail. Just do it one more time. It will maybe add five minutes to your entire process. You will get a flawless manicure, because you took the extra step to get it just right.
LESS IS MORE – That first coat of polish you do should be barely there. Streaky, sheer, probably looking like total garbage. But fight the urge to go all in with too much polish. I think of my first coat like the base. You want it thin, flat, and almost all the way dry before you go in with your next coat. The same goes for your top coat. If you give your color time to dry, you can really get the thinnest layer of top coat, making chips less likely to happen.
TOP UP – Add in an extra layer of protection ever two or three days by reapplying a thin layer of top coat. Don’t forget to cap the edges!


What does cap the edges mean?