I had made homemade bread a few times in my life, but about mid way through 2017, I decided that I was going to try to stop buying bread, and start making my own. First of all, homemade bread makes the most boring toast or sandwich taste incredible. It is like taking yourself to the local bakery for lunch!
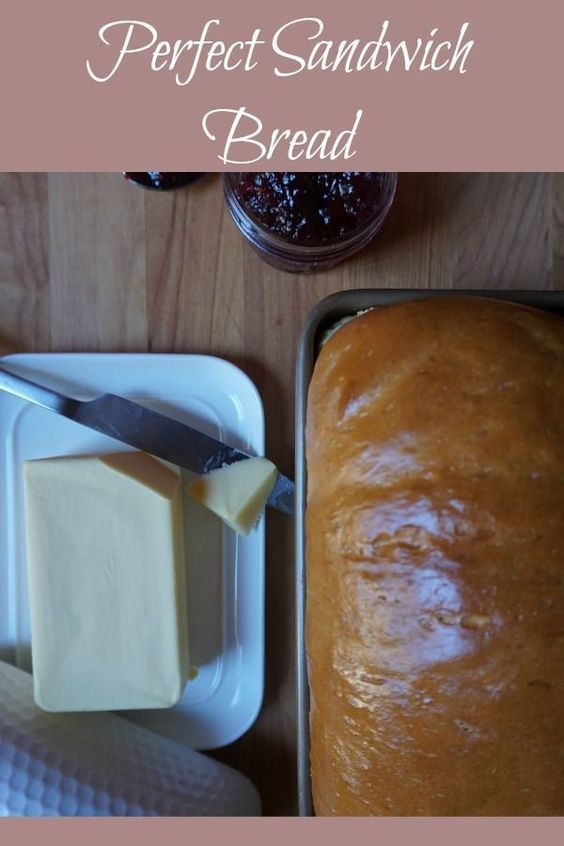 There are a ton of recipes out there. I have tried them all. But what I wanted, was a bread that I could bake when I was out of everything in my fridge. I didn’t want to need milk, something that I have been known to forget. Every. Time. I wanted a bread lower in sugar than others. And it needed some salt, which is where all the flavor comes from! I was also super annoyed that so many of the recipes out there make three loaves. The term “day old bread” comes from somewhere! When you don’t have all of the preservatives that store bought bread has, it goes stale very quickly. We are a family of three. There is no way we are eating three loaves in two days, let alone one!
I found a good base recipe online, and tweaked the sugar, scaled the recipe down to only make two loaves, and did some experimenting with freezing dough. This bread is SO GOOD. I mean, the best homemade bread that I have ever had. It has just the right amount of sugar, making it anything but a “sweet bread.” The amount of yeast yields a great lift, and the salt is on point.
I don’t want you to be afraid to make your own bread. It is really way easier than people make it out to be, and it is so rewarding. It is one of those things I bake that just lifts my soul and makes me feel good. Kneading dough, shaping rolls and smelling the fragrant yeast is high on my happy list.
Homemade Sandwich Bread
Yields two loaves, or one loaf and 16 rolls
- 2 cups of very warm water
- 1/4 cup granulated sugar
- 1 1/2 tablespoons dry active yeast
- 1 1/2 teaspoons salt
- 1/4 cup vegetable oil or melted butter
- 5-6 cups of flour
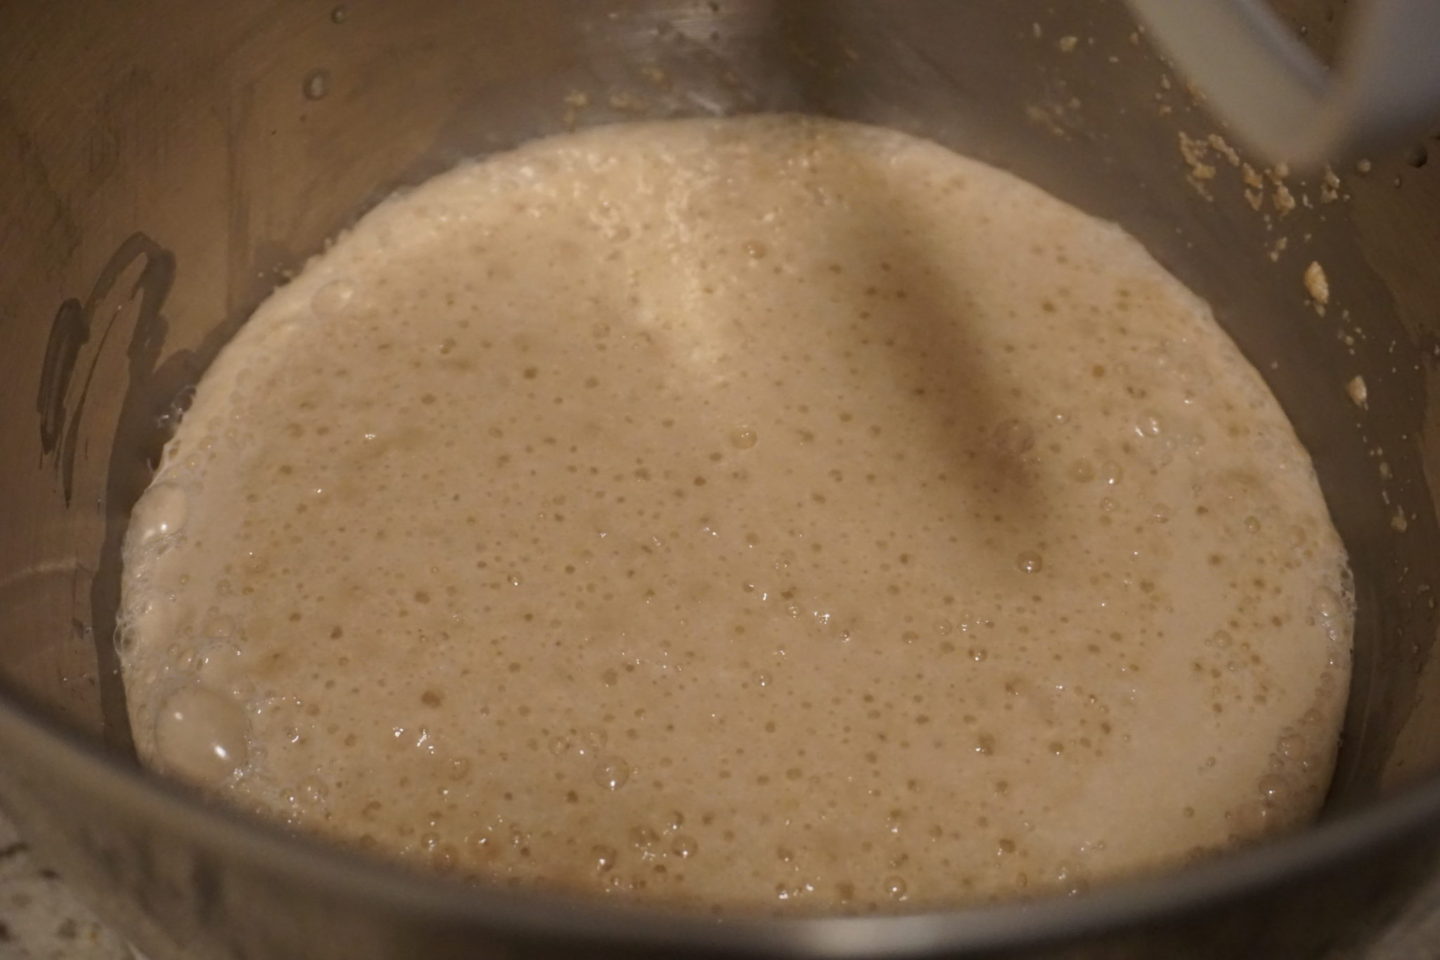
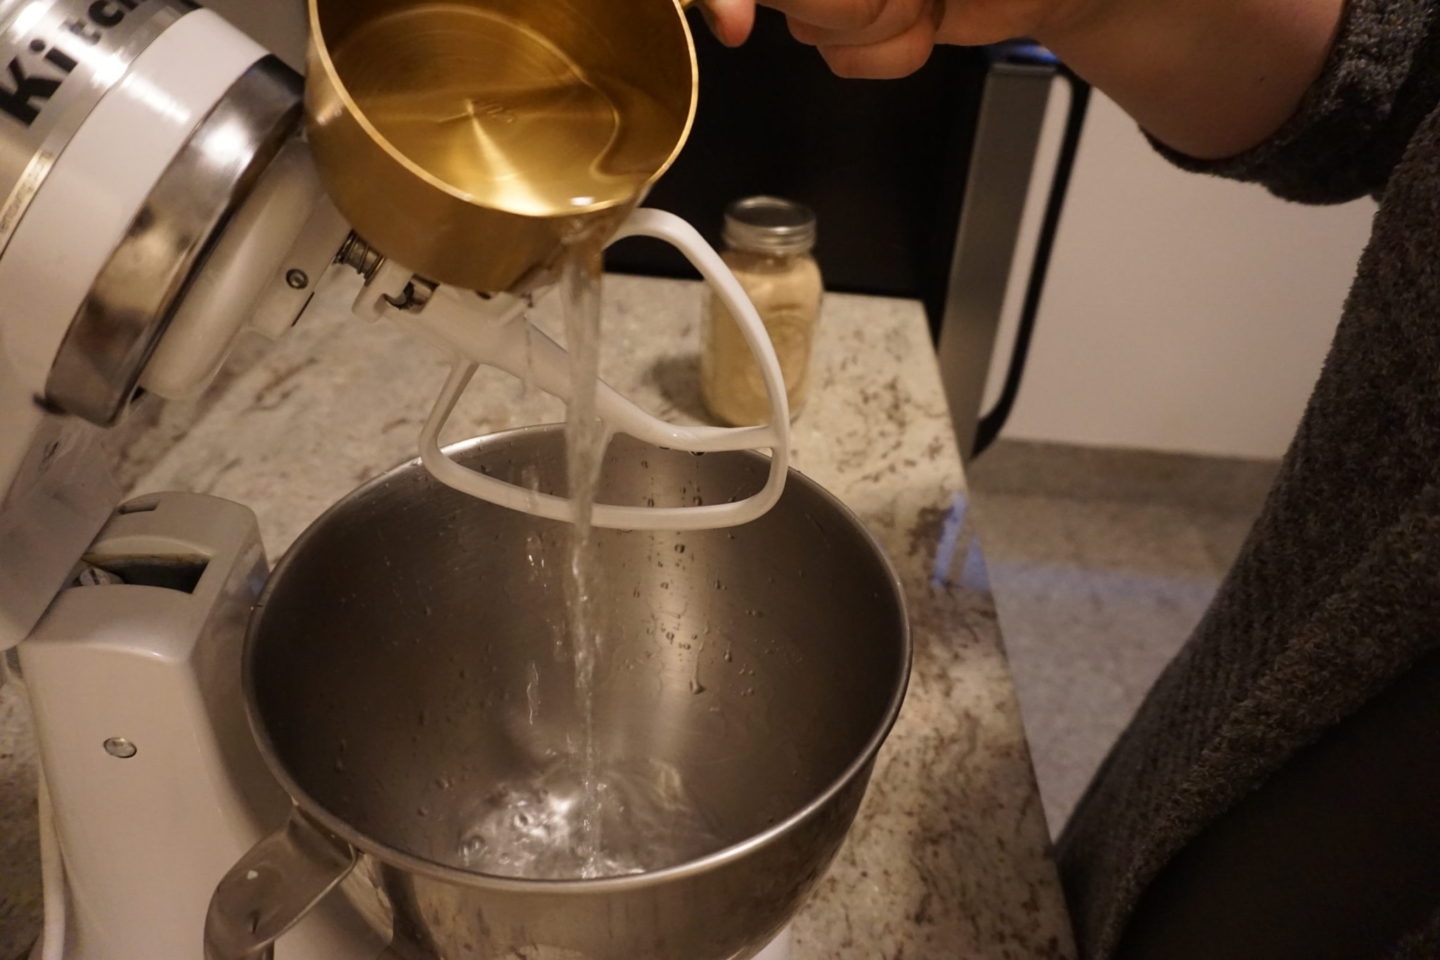
Mix the warm water, sugar and yeast in the bowl of an electric mixer fitted with a dough hook attachment. Allow the yeast to get nice and bubbly – 10 ish minutes.
Sprinkle in the salt, oil and 2 cups of the flour. Mix for one minute and switch the paddle for a dough hook.
Add in the next three cups of flour. Err on the side of less is more, as you can always continue adding, but you can’t take away. When the dough starts to form a ball and mix a little lopsided in the bowl, you are set. Knead the dough with the hook for four to five minutes.
Cover with a damp dishtowel or cling wrap and let rest and rise for 30-60 minutes, until dough has doubled in size
Punch down the dough and place on a lightly floured countertop. Divide the dough in half. Each half will make either one loaf, or sixteen rolls.
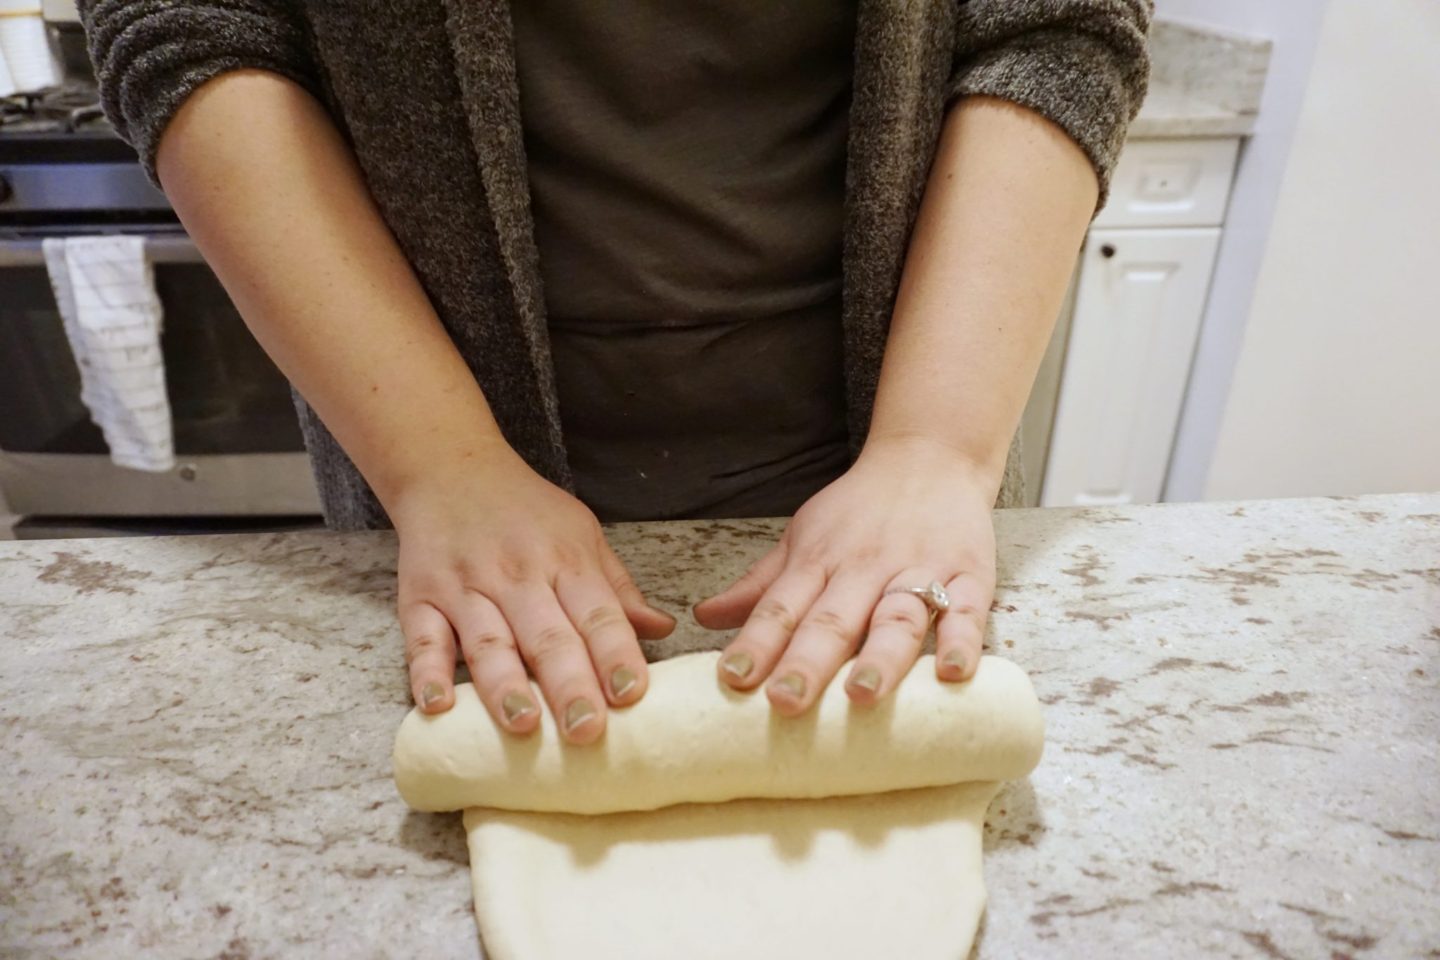
To form a loaf, use a rolling pin to roll one of the dough halves into a rectangle shape, as wide as your loaf pan. Then, roll up the loaf and pinch the seam. If freezing, this is when you would wrap tightly and freeze.
Place in a lightly grease loaf pan, cover with dishtowel, and let rise again, for about an hour or two, or until at least doubled in size and risen above the loaf pan.
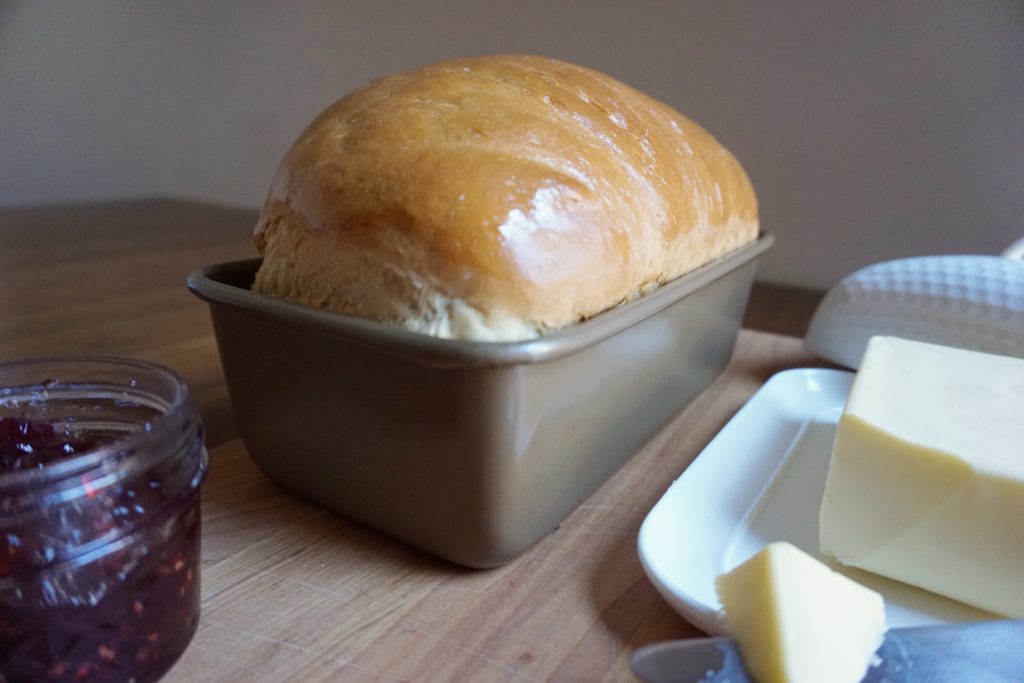
Preheat oven to 350 degrees. Bake for 25-30 minutes until deeply golden. Lightly brush with salted butter.
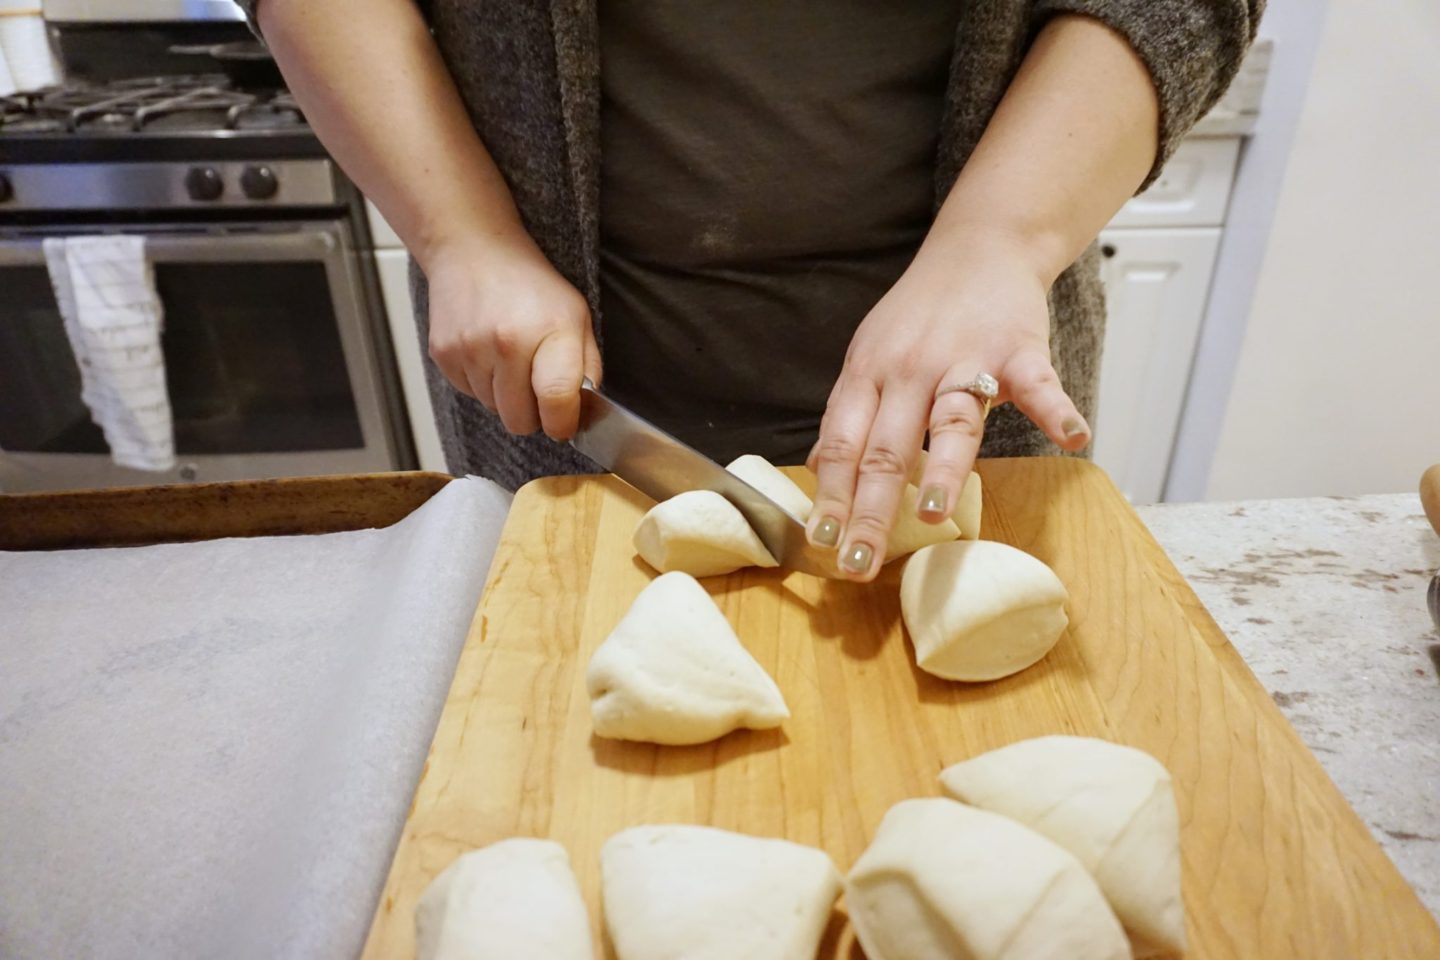
To make rolls, take your dough and half it. Then half each half. And again. Until you have sixteen equal pieces. Bring the corners together and pick to form little balls. Place on a parchment lined baking sheet. Let rise for 30-60 minutes. Bake in a 350 degree oven for 15 minutes, or golden brown. Brush with melted butter.
FREEZING THE DOUGH
If you are looking to freeze the dough to use at a later date, after the initial rise and shaping, immediately place in the freezer. When you want to bake the dough, either place in the fridge the night before or let rise on the counter for about three hours prior to baking.
When thawing, place frozen loaf directly into a greased loaf pan and cover with cling film. Let defrost in the fridge overnight. Take out 90-120 minutes prior to baking to allow the dough to fully rise and come to room temperature.
You can slo freeze the baked bread if you made too much or don’t think you will eat it quickly enough. Just be sure to slice the loaf before freezing. You can pull out one slice at a time and toast it, or let it defrost wrapped in a paper towel to eat as is!
I challenge you to try making your own bread! Once you start, I doubt you will look back. The result is so worth the work!




Thanks for the recipes! We all love chocolate cake so I will try it soon. I might make the break today.
Do the bread! It is so easy and super rewarding!