I have been sitting on this post for a while now, because there is so much info out there about sourdough bread. And the reality is, most of it is trial and error and there are a thousand variables, from the time of day to the weather. Because of this, I think sourdough bread can be VERY intimidating. But if you are just a beginner and looking to find an easy recipe that doesn’t require you to tote your dough around all day, this is the one for you.
I’ve been making homemade bread for years, but never really gave sourdough a good go. I always made a starter, and within a month gave up because my bread wasn’t bakery worthy. If you have just started out, give it time. Think of a fresh starter like a seedling. You need to allow it to grow and mature to give you the fruit that you want!
Before we get into the steps, there are some things I want to remind you of. So many recipes out there are going to make each step seem like life or death and if you don’t follow each step to the millisecond, your bread will be a disaster. Bread is one of the most forgiving things you can bake in your kitchen. So, take a deep breath and just trust the processes. There is always going to be room for improvement. I feel like I finally have my loaf down to perfection, but each time, I surprise myself and it gets a little better.
Depending on where you live, you may find that your dough might be a little dry or a little wet when following this recipe to the letter. Living in New York, where it is super humid, I found I needed to adjust the water content in almost all recipes I used to keep my dough from being too moist. As you make bread more often, you will start to get a (literal) feel for your dough and know what it needs!
This recipe isn’t hard, but there are quite a few steps involved. And it isn’t a quick one and done process. Time is where the magic happens.

TOOLS
I was making my sourdough with bare minimum kitchen items for the first few months. No dutch oven. No lame. And it came out beautifully. You don’t HAVE to have these things. A heavy bottom pot (stainless steel or cast iron) with a lid and a sharp knife will lend you very similar results.
If you are looking to step up your sourdough game, these few things really made the process easier and yielded a better loaf.
- DUTCH OVEN – This is the one I ended up buying after reading countless reviews, blogs, and articles. It is an investment, but I can’t tell you how much better the crust of my bread is now.
- PROOFING BASKET AND LAME – I just got one of these a week ago, and have only used it twice, but WOW! I was just using a floured tea towel before, and this has made my bread release so much easier, with no sticking. It also comes with a lame, which you use to score your bread.
- DUTCH WHISK – Also not essential, but it really does make that initial mix of your dough before the autolyse stage quick and easy.
SHOP
GETTING YOUR SOURDOUGH STARTER PREPPED
I’m going to assume you have a sourdough starter taking up counter space or sitting in the back of your fridge. Before you make your dough, you need to get your starter activated. The recipe I am sharing is for a water and flour starter only. I know there are some started out there who incorporate milk, oil, and other ingredients, but I can’t say whether or not they will work for this recipe.
If your starter is stored in the fridge, take it out the night before you make your bread and give it a feed according to what you normally do. I generally feed my started 3/4 cup all-purpose flour and 1/2 cup water. Feed it once more, two to three hours prior to baking your bread. You want that little starter to BUBBLE.
If your starter is chilling on the counter, feed it two to three hours prior to dough making. I used to think I had an active starter, but now that I have had mine for a few months, I know it is truly happy. After feeding, it starts to bubble up like pure dish soap, it is so active!
I am not a professional baker. This recipe totally makes sense in my brain, but if you have ANY questions, please don’t hesitate to reach out to me.

BASIC SOURDOUGH RECIPE
Makes one large boule.
INGREDIENTS
- 1 CUP ACTIVE STARTER
- 1 1/4 CUP WATER
- 20 OUNCES ALL PURPOSE FLOUR, OR A MIXTURE OF ALL PURPOSE AND FLOUR OF YOUR CHOICE
- 2 1/2 TSP KOSHER SALT
Other than baking times, all other times are a general guideline. Your dough can sit an extra 30 minutes to an hour between folds. Your starter isn’t going to die if you leave it without feeding for longer than usual. The best way to go through this is with a chill attitude. Don’t set a timer until that loaf in the oven. Go with the flow.
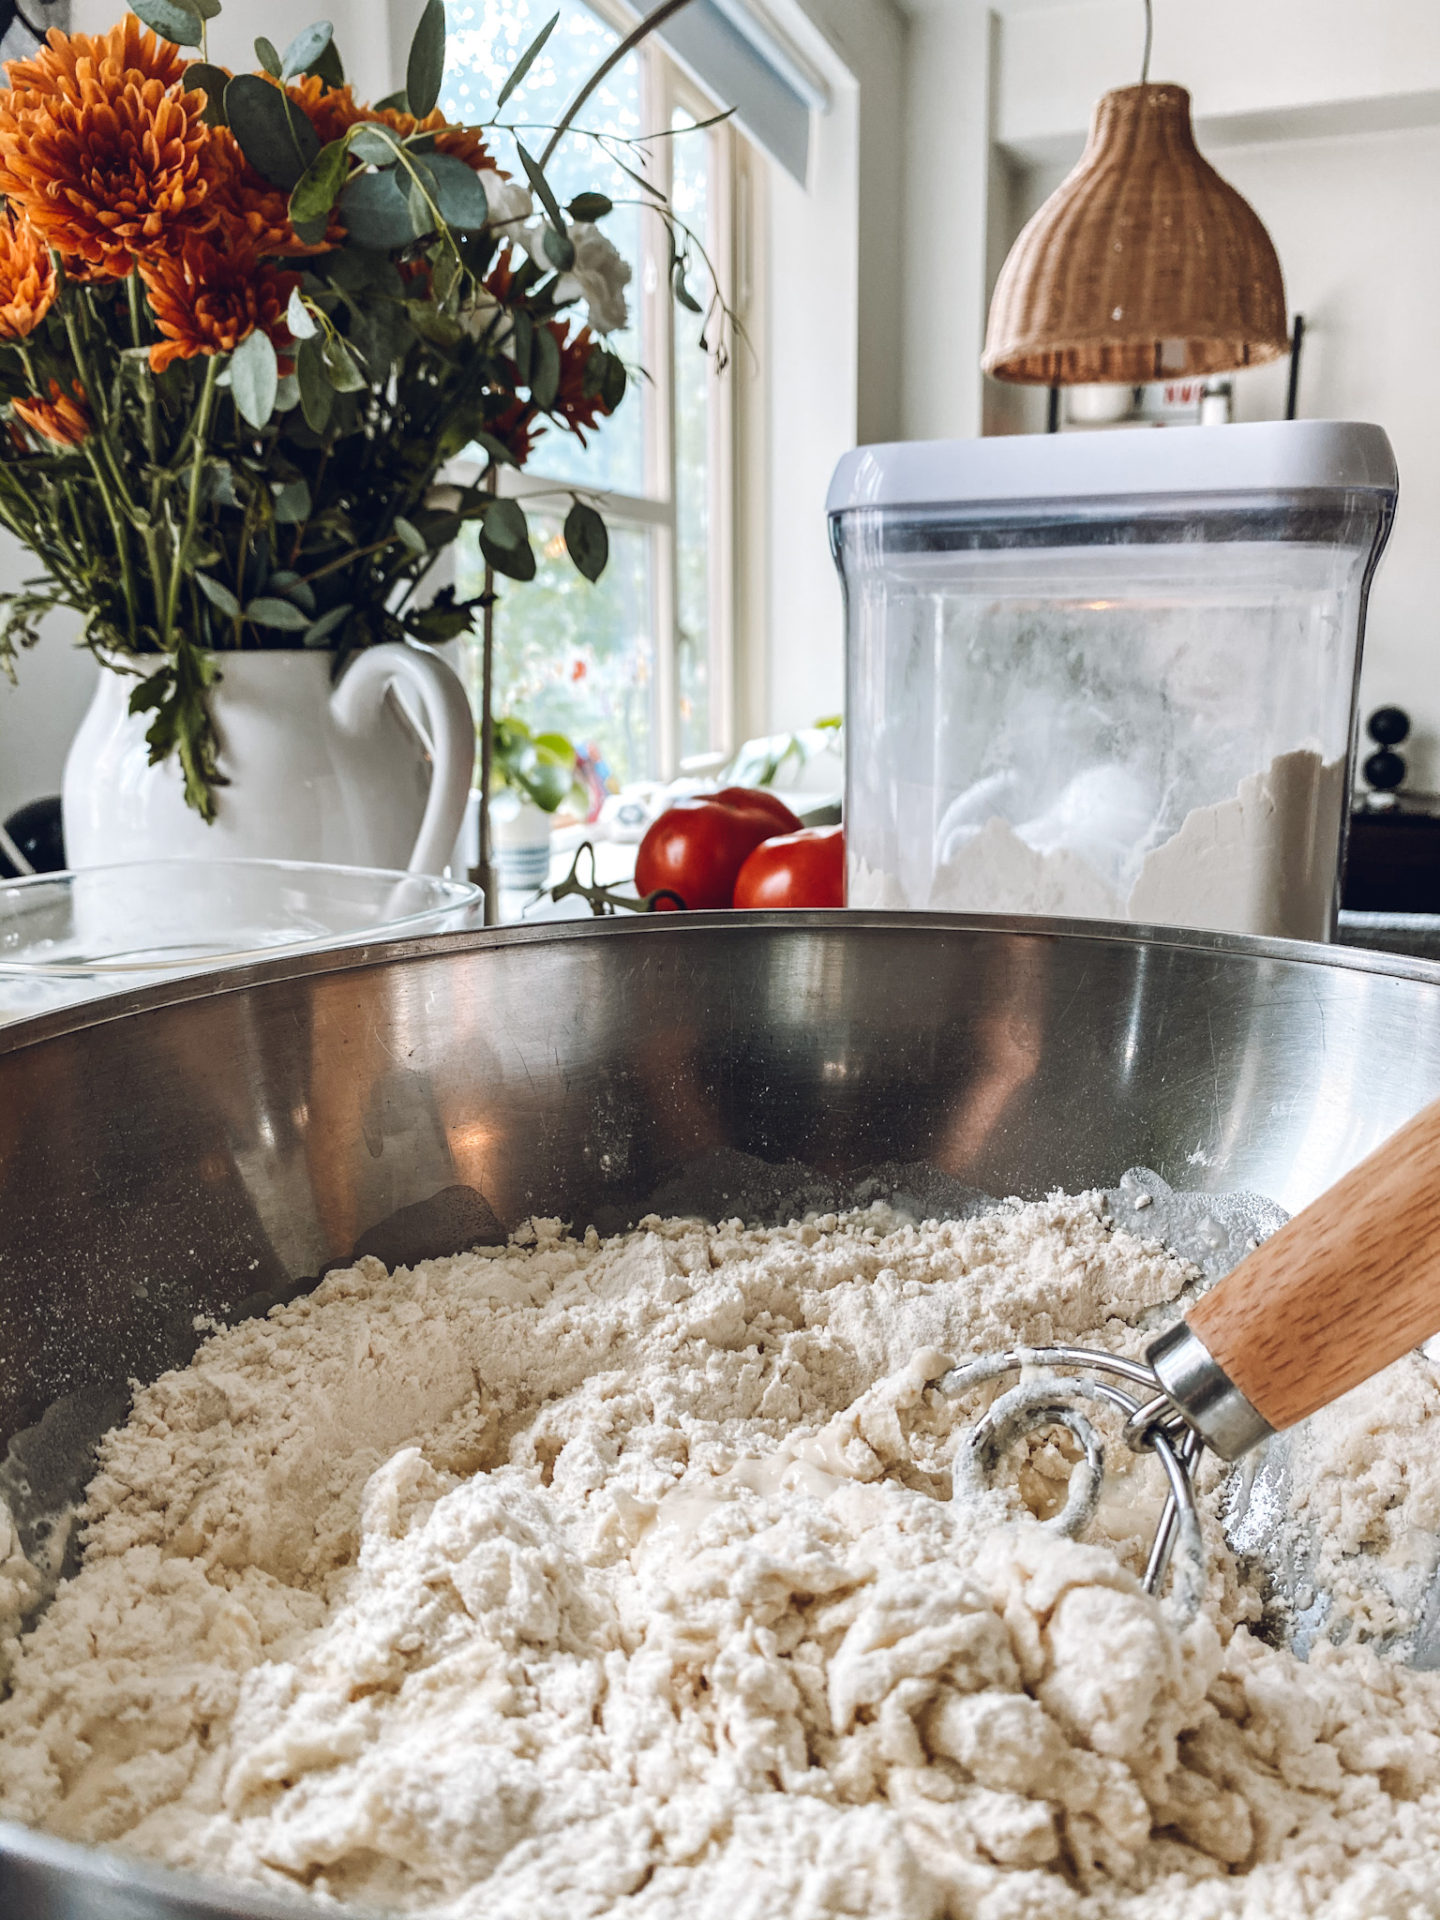
Mix your starter, water, and flour in a large mixing bowl, with a dutch whisk if you have on hand. The dough will be dry and scraggly, and you may want to add more water. Skip this urge and cover with plastic wrap for an hour or so. This is what is called the “autolyse stage.”

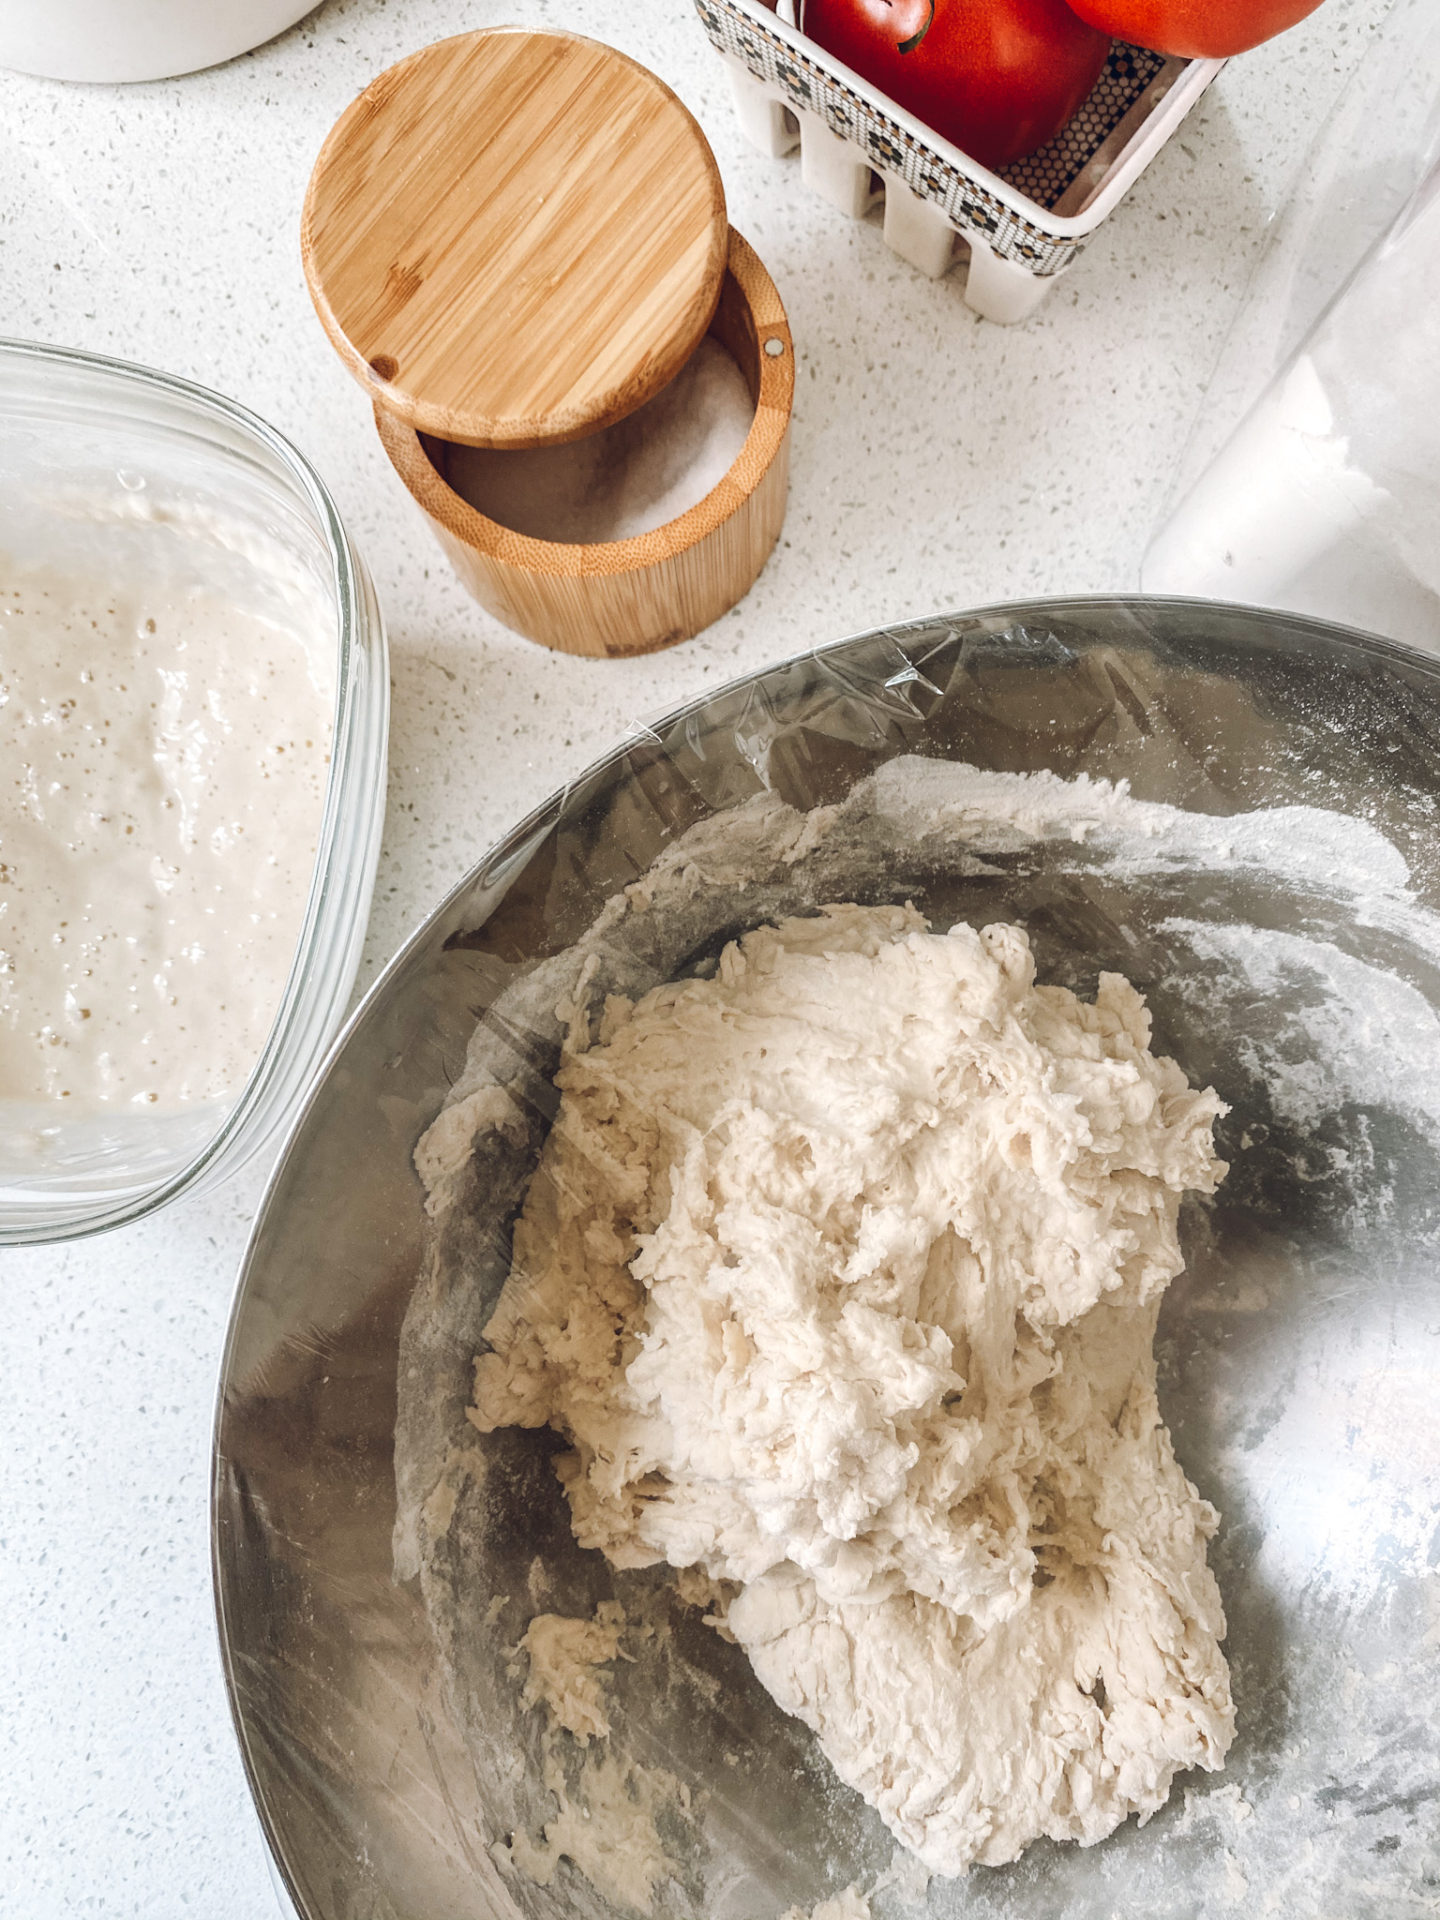
After your dough has rested for an hour, add in the salt and knead in the bowl for three to five minutes. Your dough should be pliable, soft and not very sticky at this point.
Cover with plastic wrap and let rest another hour.
The next step we are going to repeat three to four times, every 45 -90 minutes. Whenever you have a spare moment throughout the day. No need to put your dough in the car for school pickup. Just carry on where you left off when you return.
Fold the dough into itself GENTLY four times. You want to bring the dough together in the center while not disturbing too many air bubbles. Cover. Rest. Repeat four times.
After the fourth fold, you will move your dough into a proofing bowl. If you don’t have a proofing bowl, a generously floured tea towel in a medium size mixing bowl. Place your dough seam side up in the bowl and cover tightly with plastic wrap.
Place dough in the fridge for at least 8 hours, up to 24. This final rest is going to give you an incredible flavor.

INSTRUCTIONS FOR BAKING IN A DUTCH OVEN
One hour before you are ready to bake your bread, preheat your oven AND your dutch oven to 450. Make sure the lid is on, too. Let the pot and dutch oven preheat for a full hour.
Remove your dough from the fridge and gently tip it out of the bowl onto a piece of parchment paper or foil. Score the top with your lame. There are lots of fancy designs you can make, but a quick score down the middle will also suffice.
Remove pot from oven and very gently place your dough into your dutch oven. Cover immediately and bake for 25 minutes with the lid on.
Remove the lid and continue baking for 20 minutes or until the internal temperature reaches 205 F.
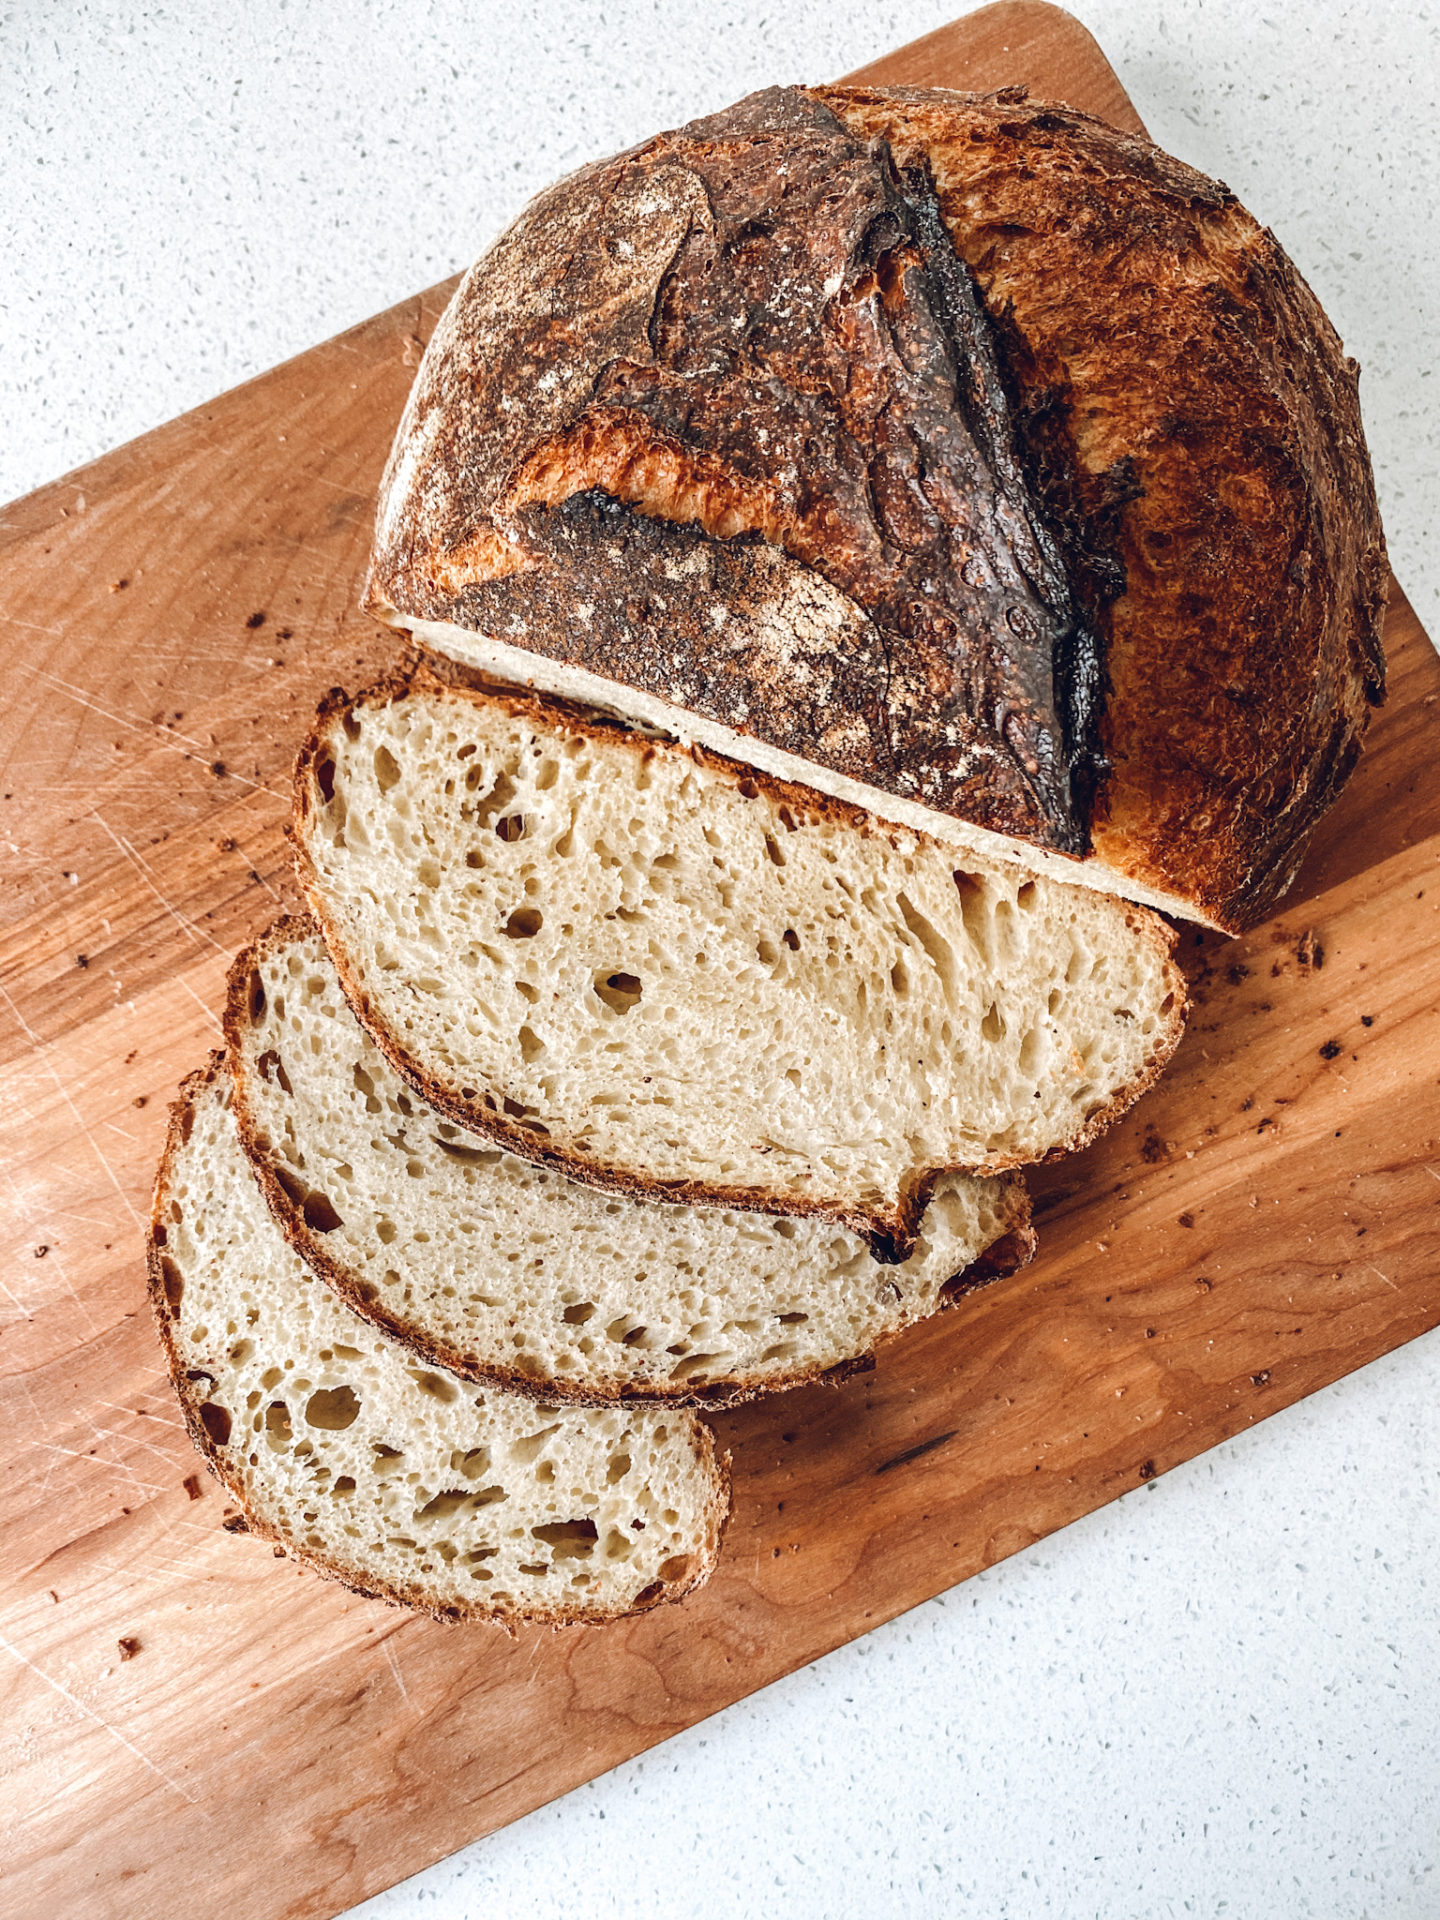
Let cool completely on a wire rack before cutting in. Enjoy!
INSTRUCTIONS FOR BAKING WITH NO DUTCH OVEN
Don’t worry if you don’t have a fancy enameled pot available to bake your bread. A heavy bottom, stainless steel pot will also do the trick.
Preheat your oven only (not the pot) to 450 one hour before you are ready to bake. Let preheat for an entire hour.
Remove your dough from the fridge and gently tip it out of the bowl onto a piece of parchment paper or foil. Score the top with your lame. There are lots of fancy designs you can make, but a quick score down the middle will also suffice.
Since you are not using a dutch oven, you need to create steam in your oven to ensure you get a good crust. Place a small sauce pan filled with a handful of cubes in the back corner of the oven.
Gently place your dough and parchment paper into your pot. Cover and bake for 25 minutes.
Remove the lid and the saucepan. Bake for an additional 20 minutes or until the internal temperature is 205 F.
Let cool completely on a wire rack before slicing. Enjoy!
I know this can seem a little intimidating, but trust me. Once you have done it once or twice, you will have that recipe memorized and the process will be second nature to you.
Let me know if any steps need clarity or if you have any questions!
Happy baking!


